
Intaglio Lift Grounds: A New Approach
Printmaking is often about reversals – mirror images but also the light line that a scribe makes through a hard ground, eventually printing black. For many, myself included, this is a difficult bit of mental gymnastics. I sought a simpler way to get from drawing to print.
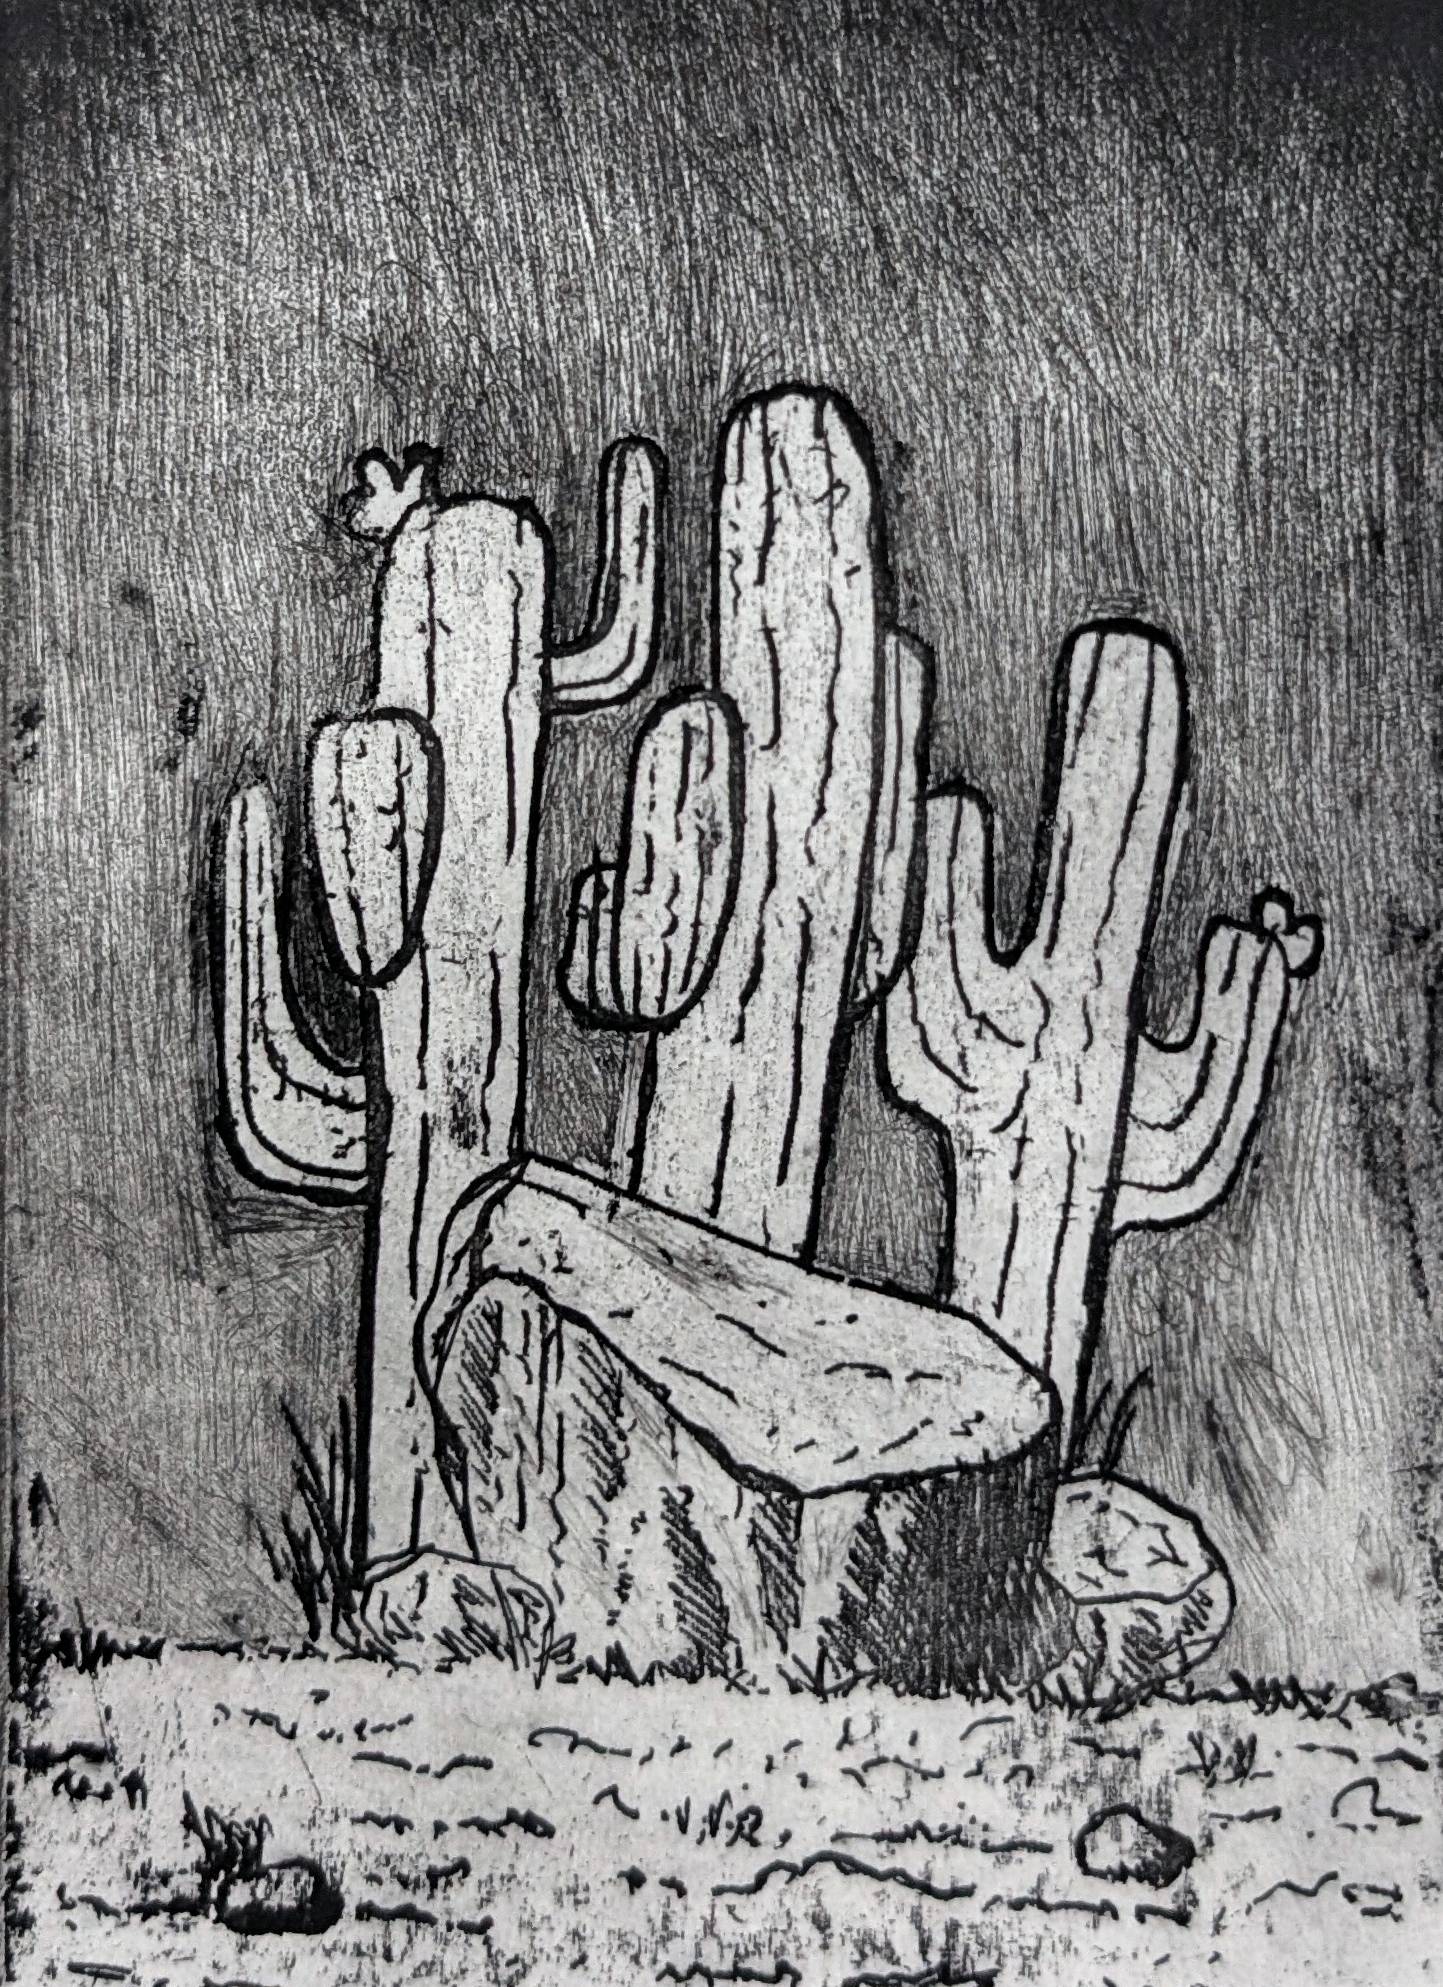
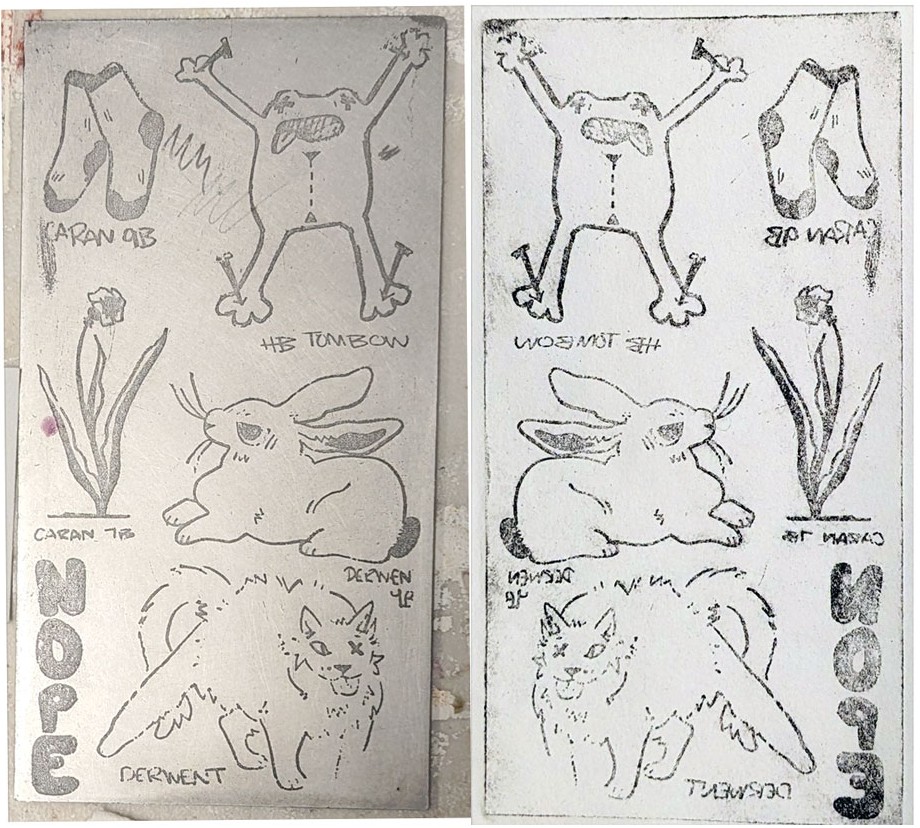
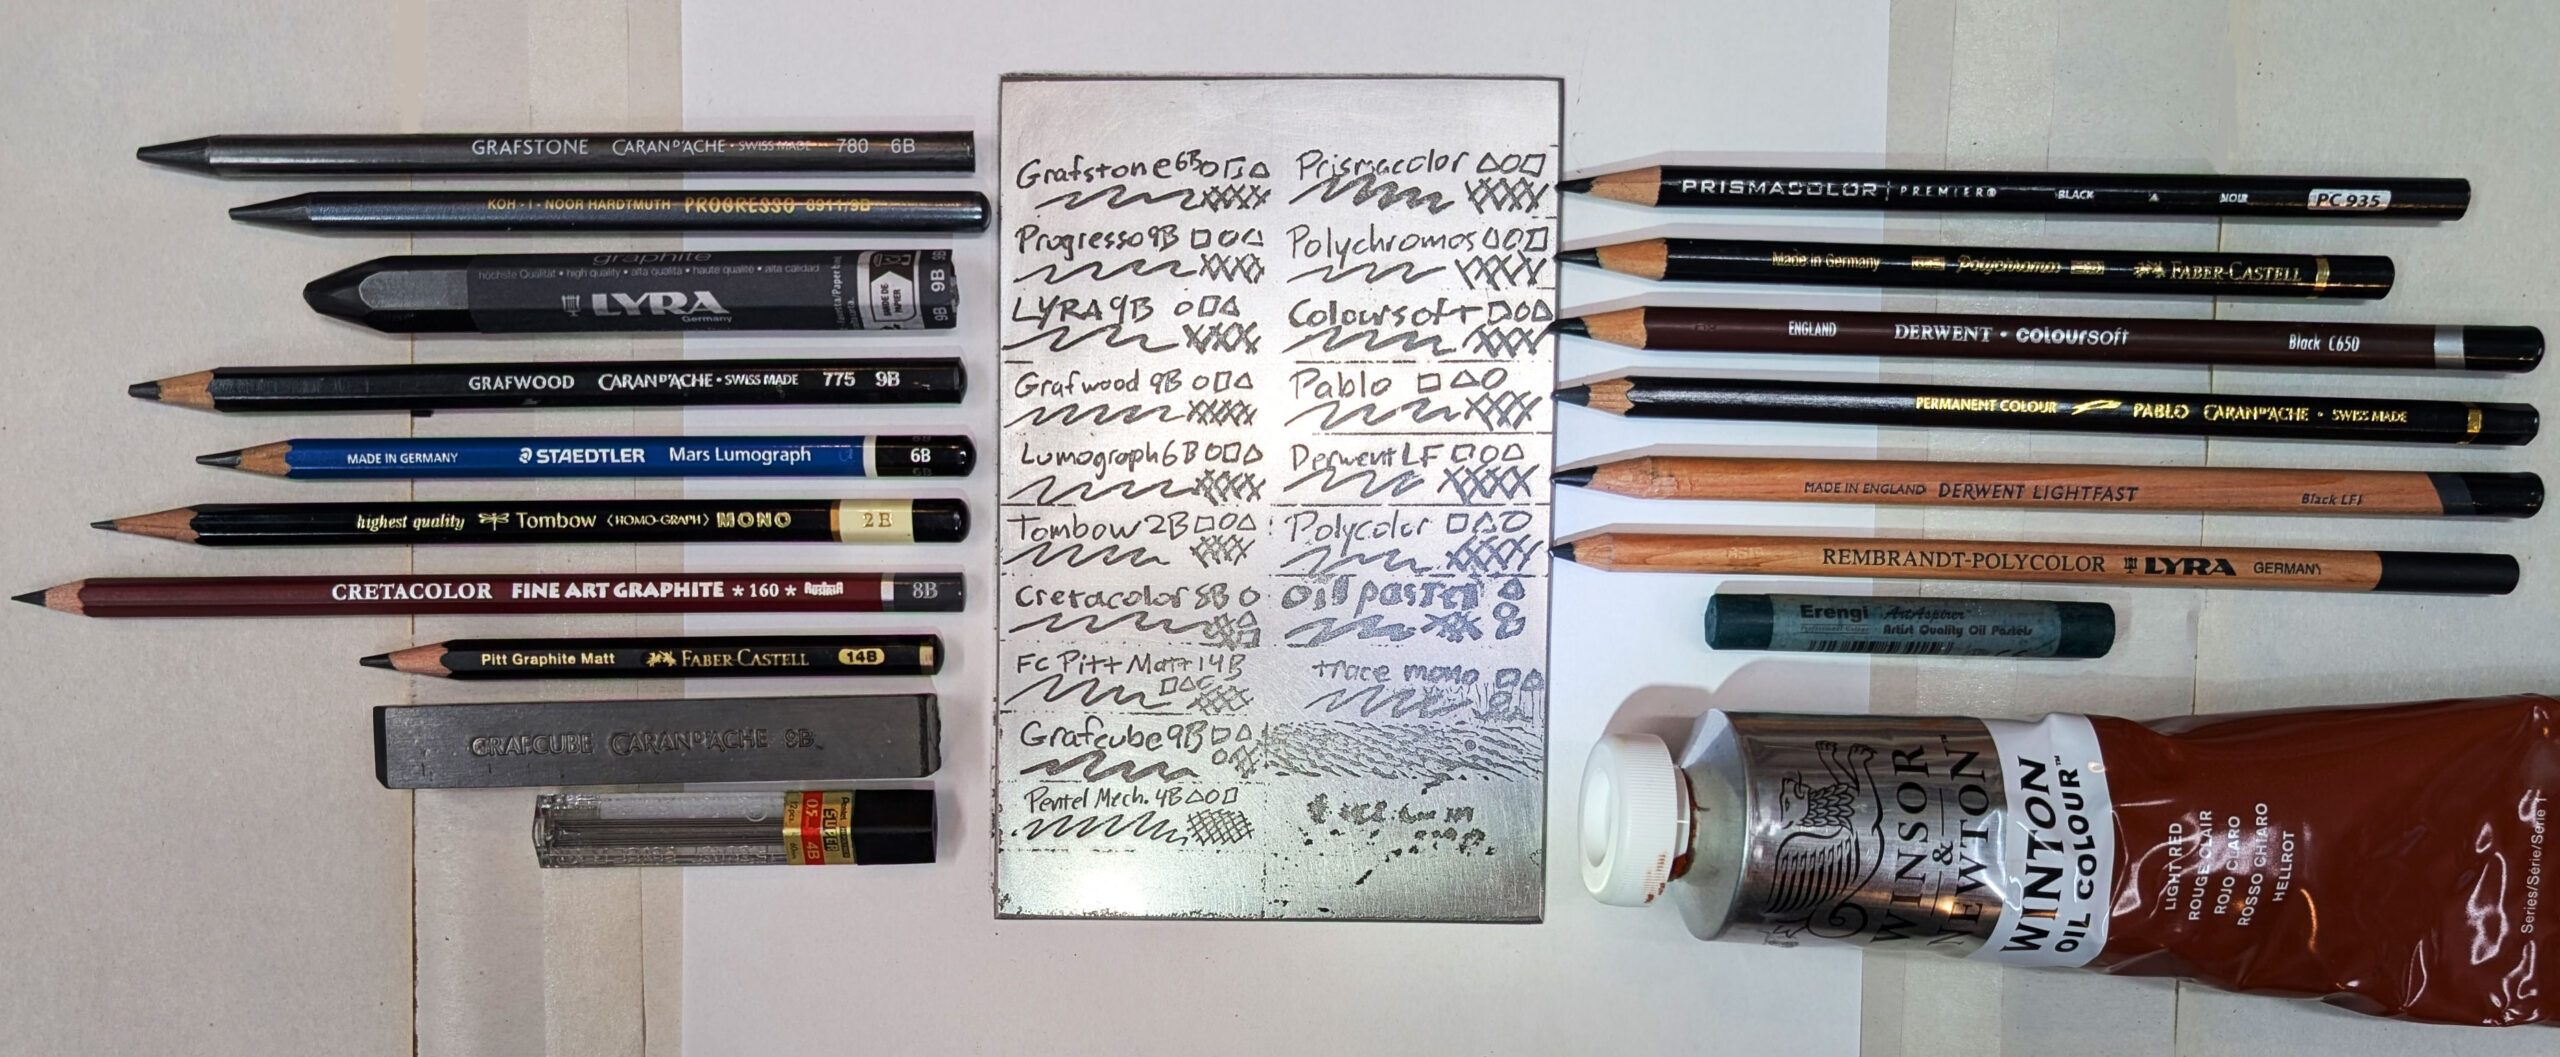
While lift grounds may not exactly be simple, the complexity happens after the drawing. Sugar lift is a traditional method for achieving a direct painted mark on a plate. My initial drawing experiments used water-soluble pencils and traditional hard ground. I found that I didn’t enjoy the drag of those materials across the plate. Flipping the chemistry to an aqueous ground, you can use graphite pencils, oil pastels, and oil paint to make marks onto the plate. It is also possible to incorporate imagery made by other methods like relief or monotype by offsetting the oil-based ink onto our intaglio plates before grounding. What we draw as black, will print as black.
Our varnish is aqueous so oily marks will resist and lift away before etching. The lift processes work well on any metal but illustrations here are made with aluminum and a relatively new etchant made from copper sulfate and salt. Aluminum has the unique property of aquatinting itself, removing the need for dusting rosin.
Method
Step 1 – Prepare the Plate
Standard Polishing and Degreasing
Use your preferred method. I use a chalk and vinegar paste and a kitchen scrubber but there are other ways. You’ll know it’s de-greased when water drains from the plate in a sheet and does not bead up. Pay attention to the edges too. Do not touch the face of the plate.
I find that a little tooth is nice for drawing. I use 1000 grit sandpaper and a palm sander before degreasing.
Step 2 – Draw on the Plate
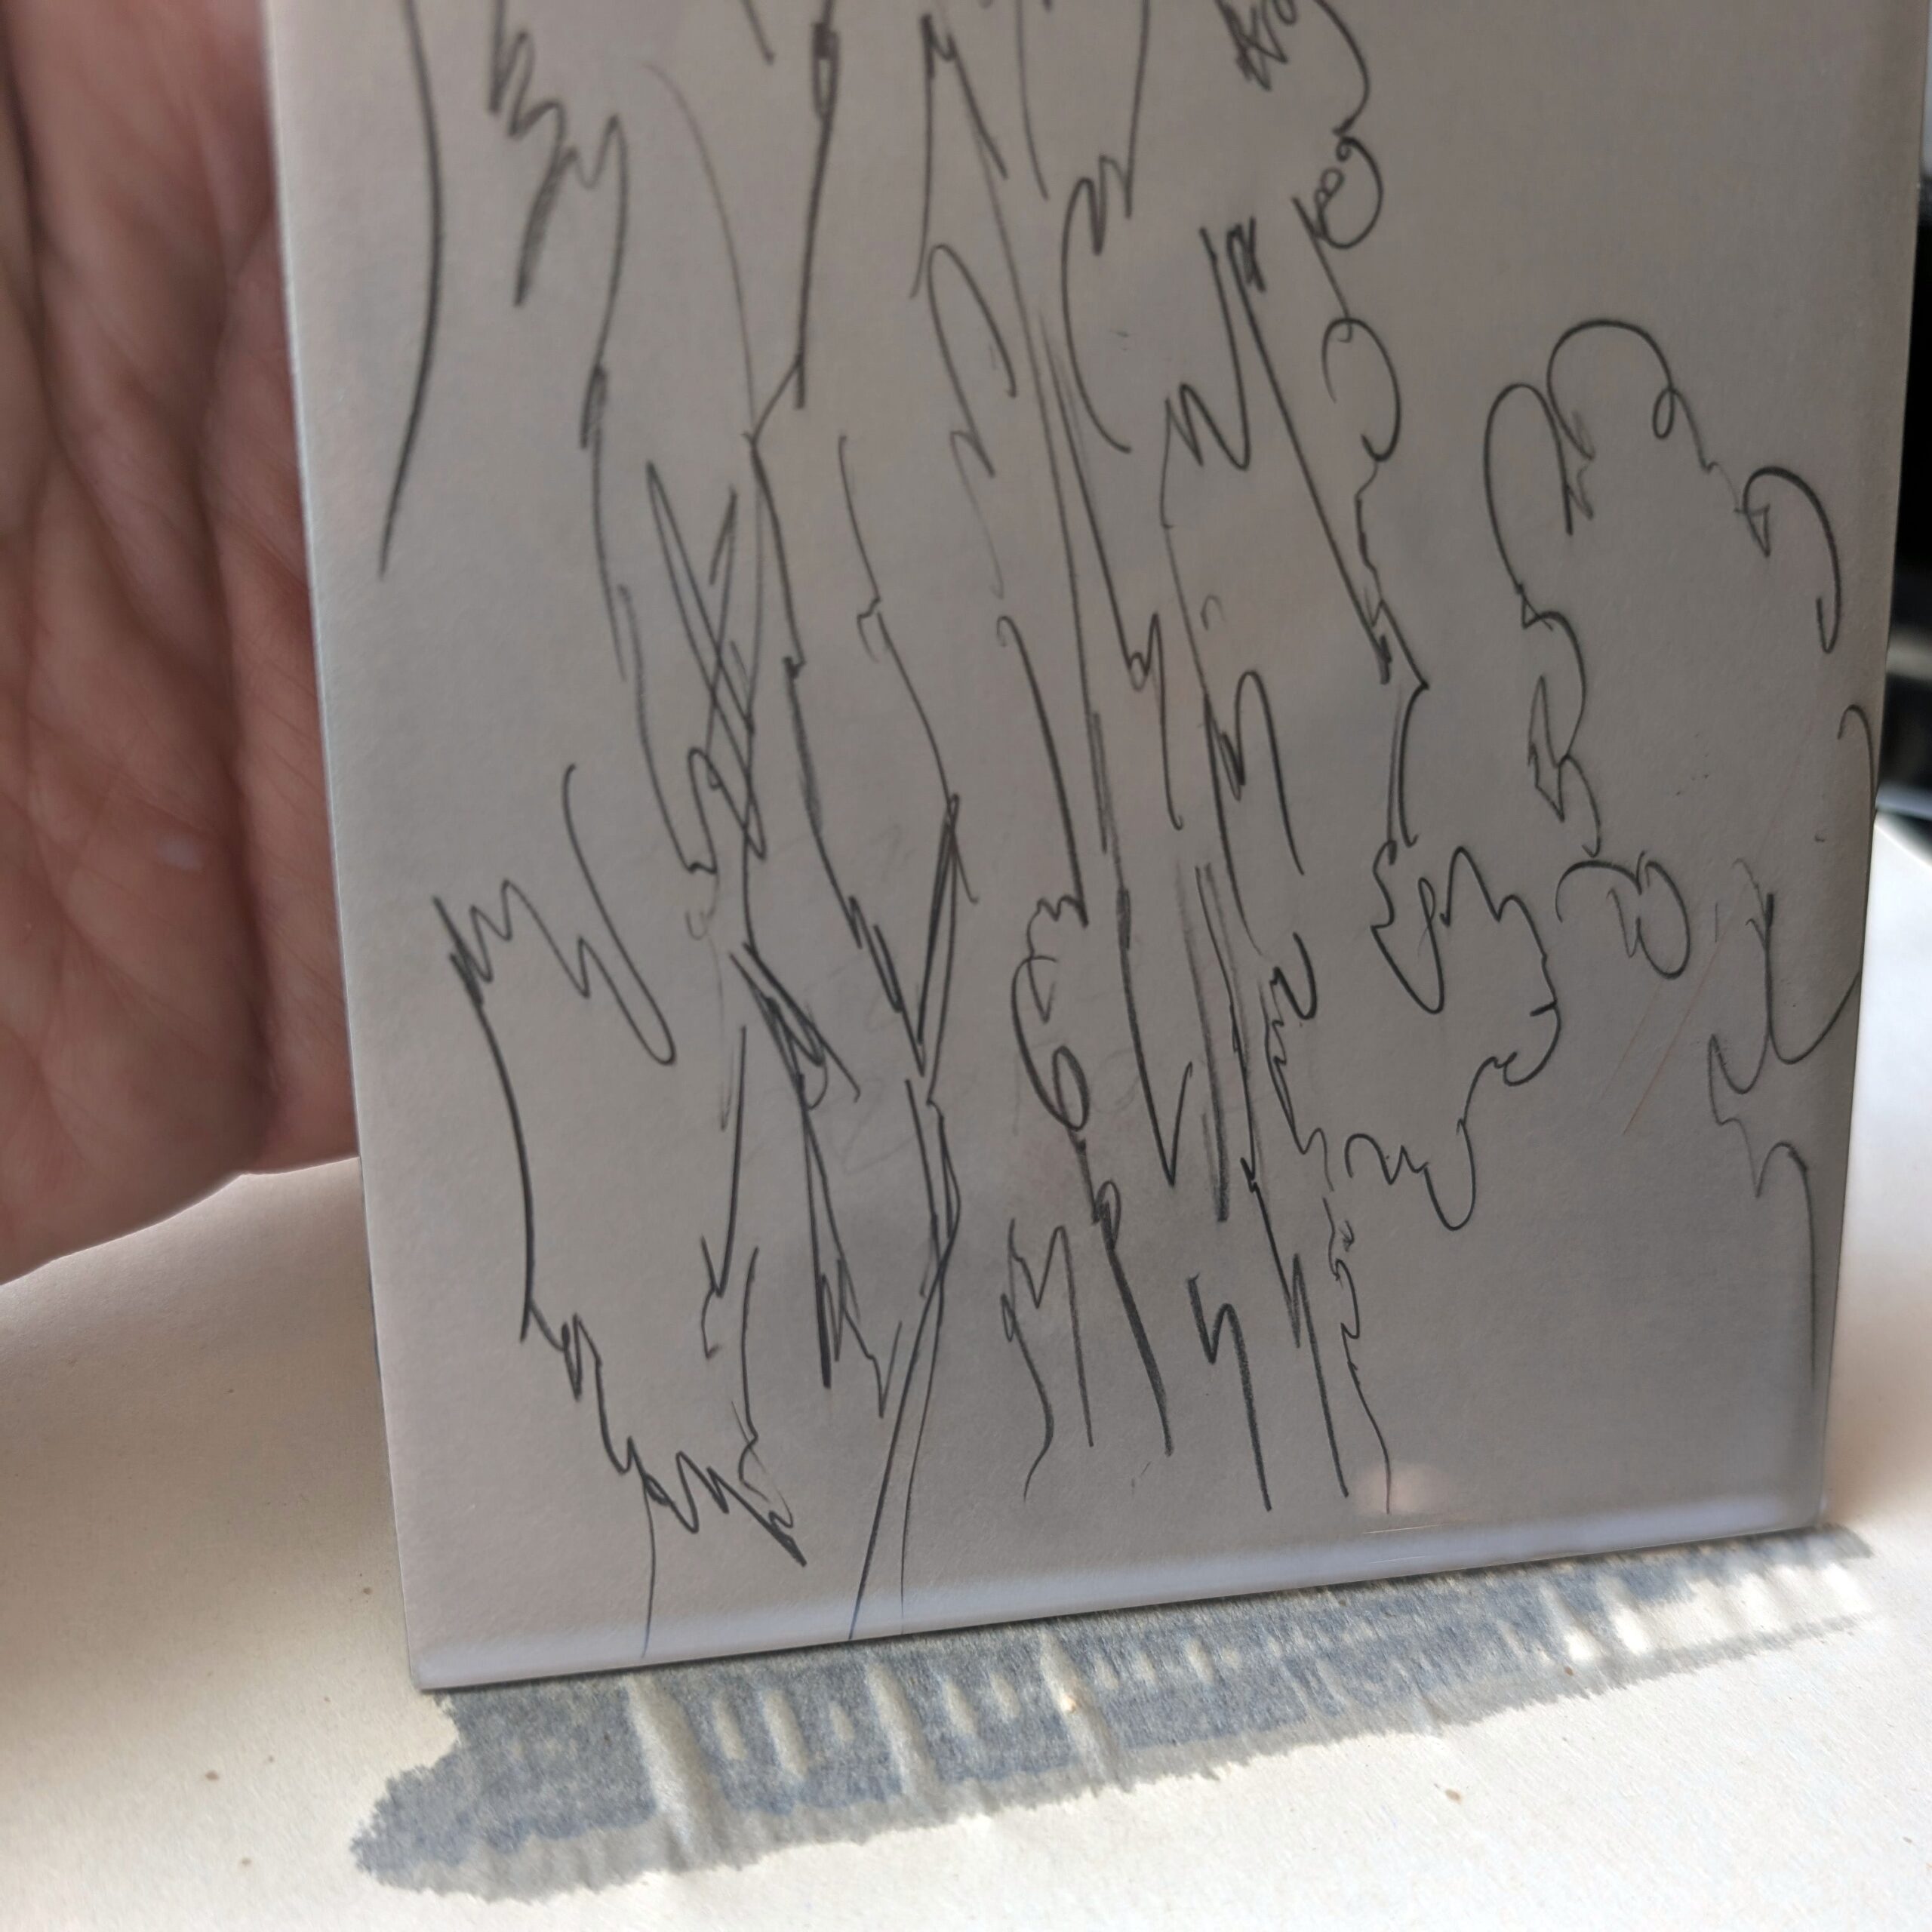
I have developed this process with graphite pencils in mind, but oil pastels and waxy colored pencils work well also.
- Be strong with your mark making. A light touch may not print.
- Graphite can be erased with alcohol.
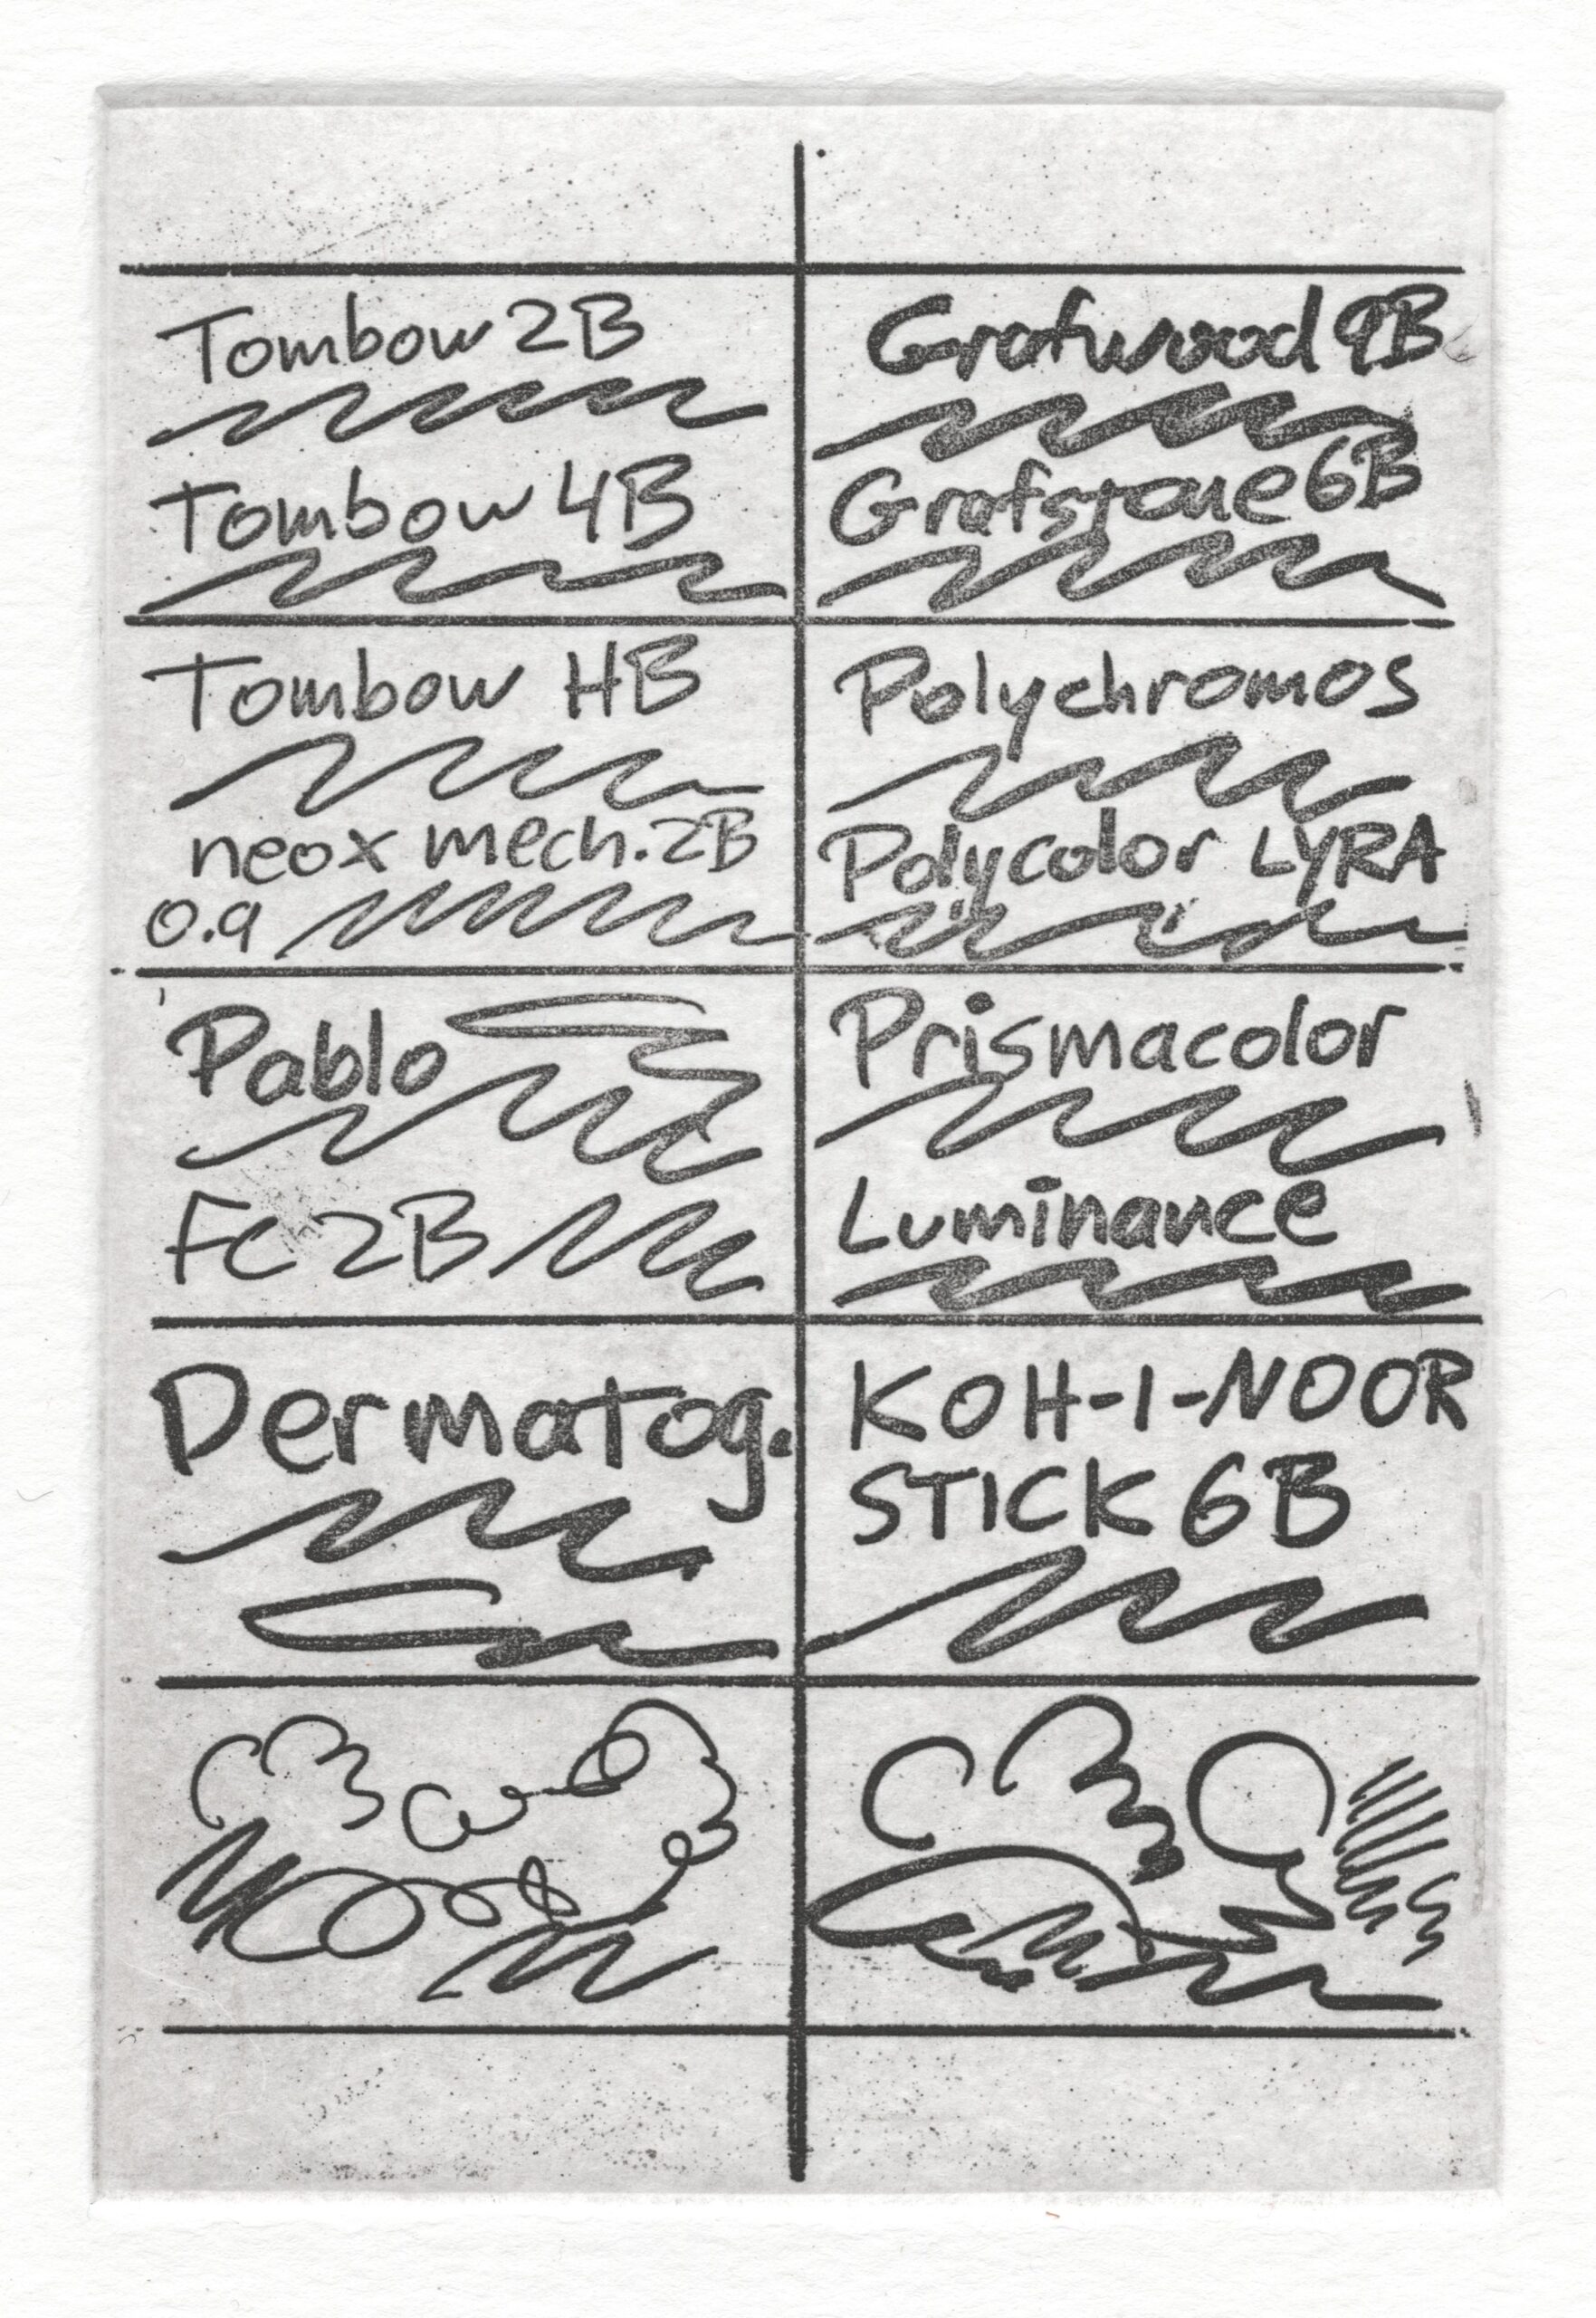
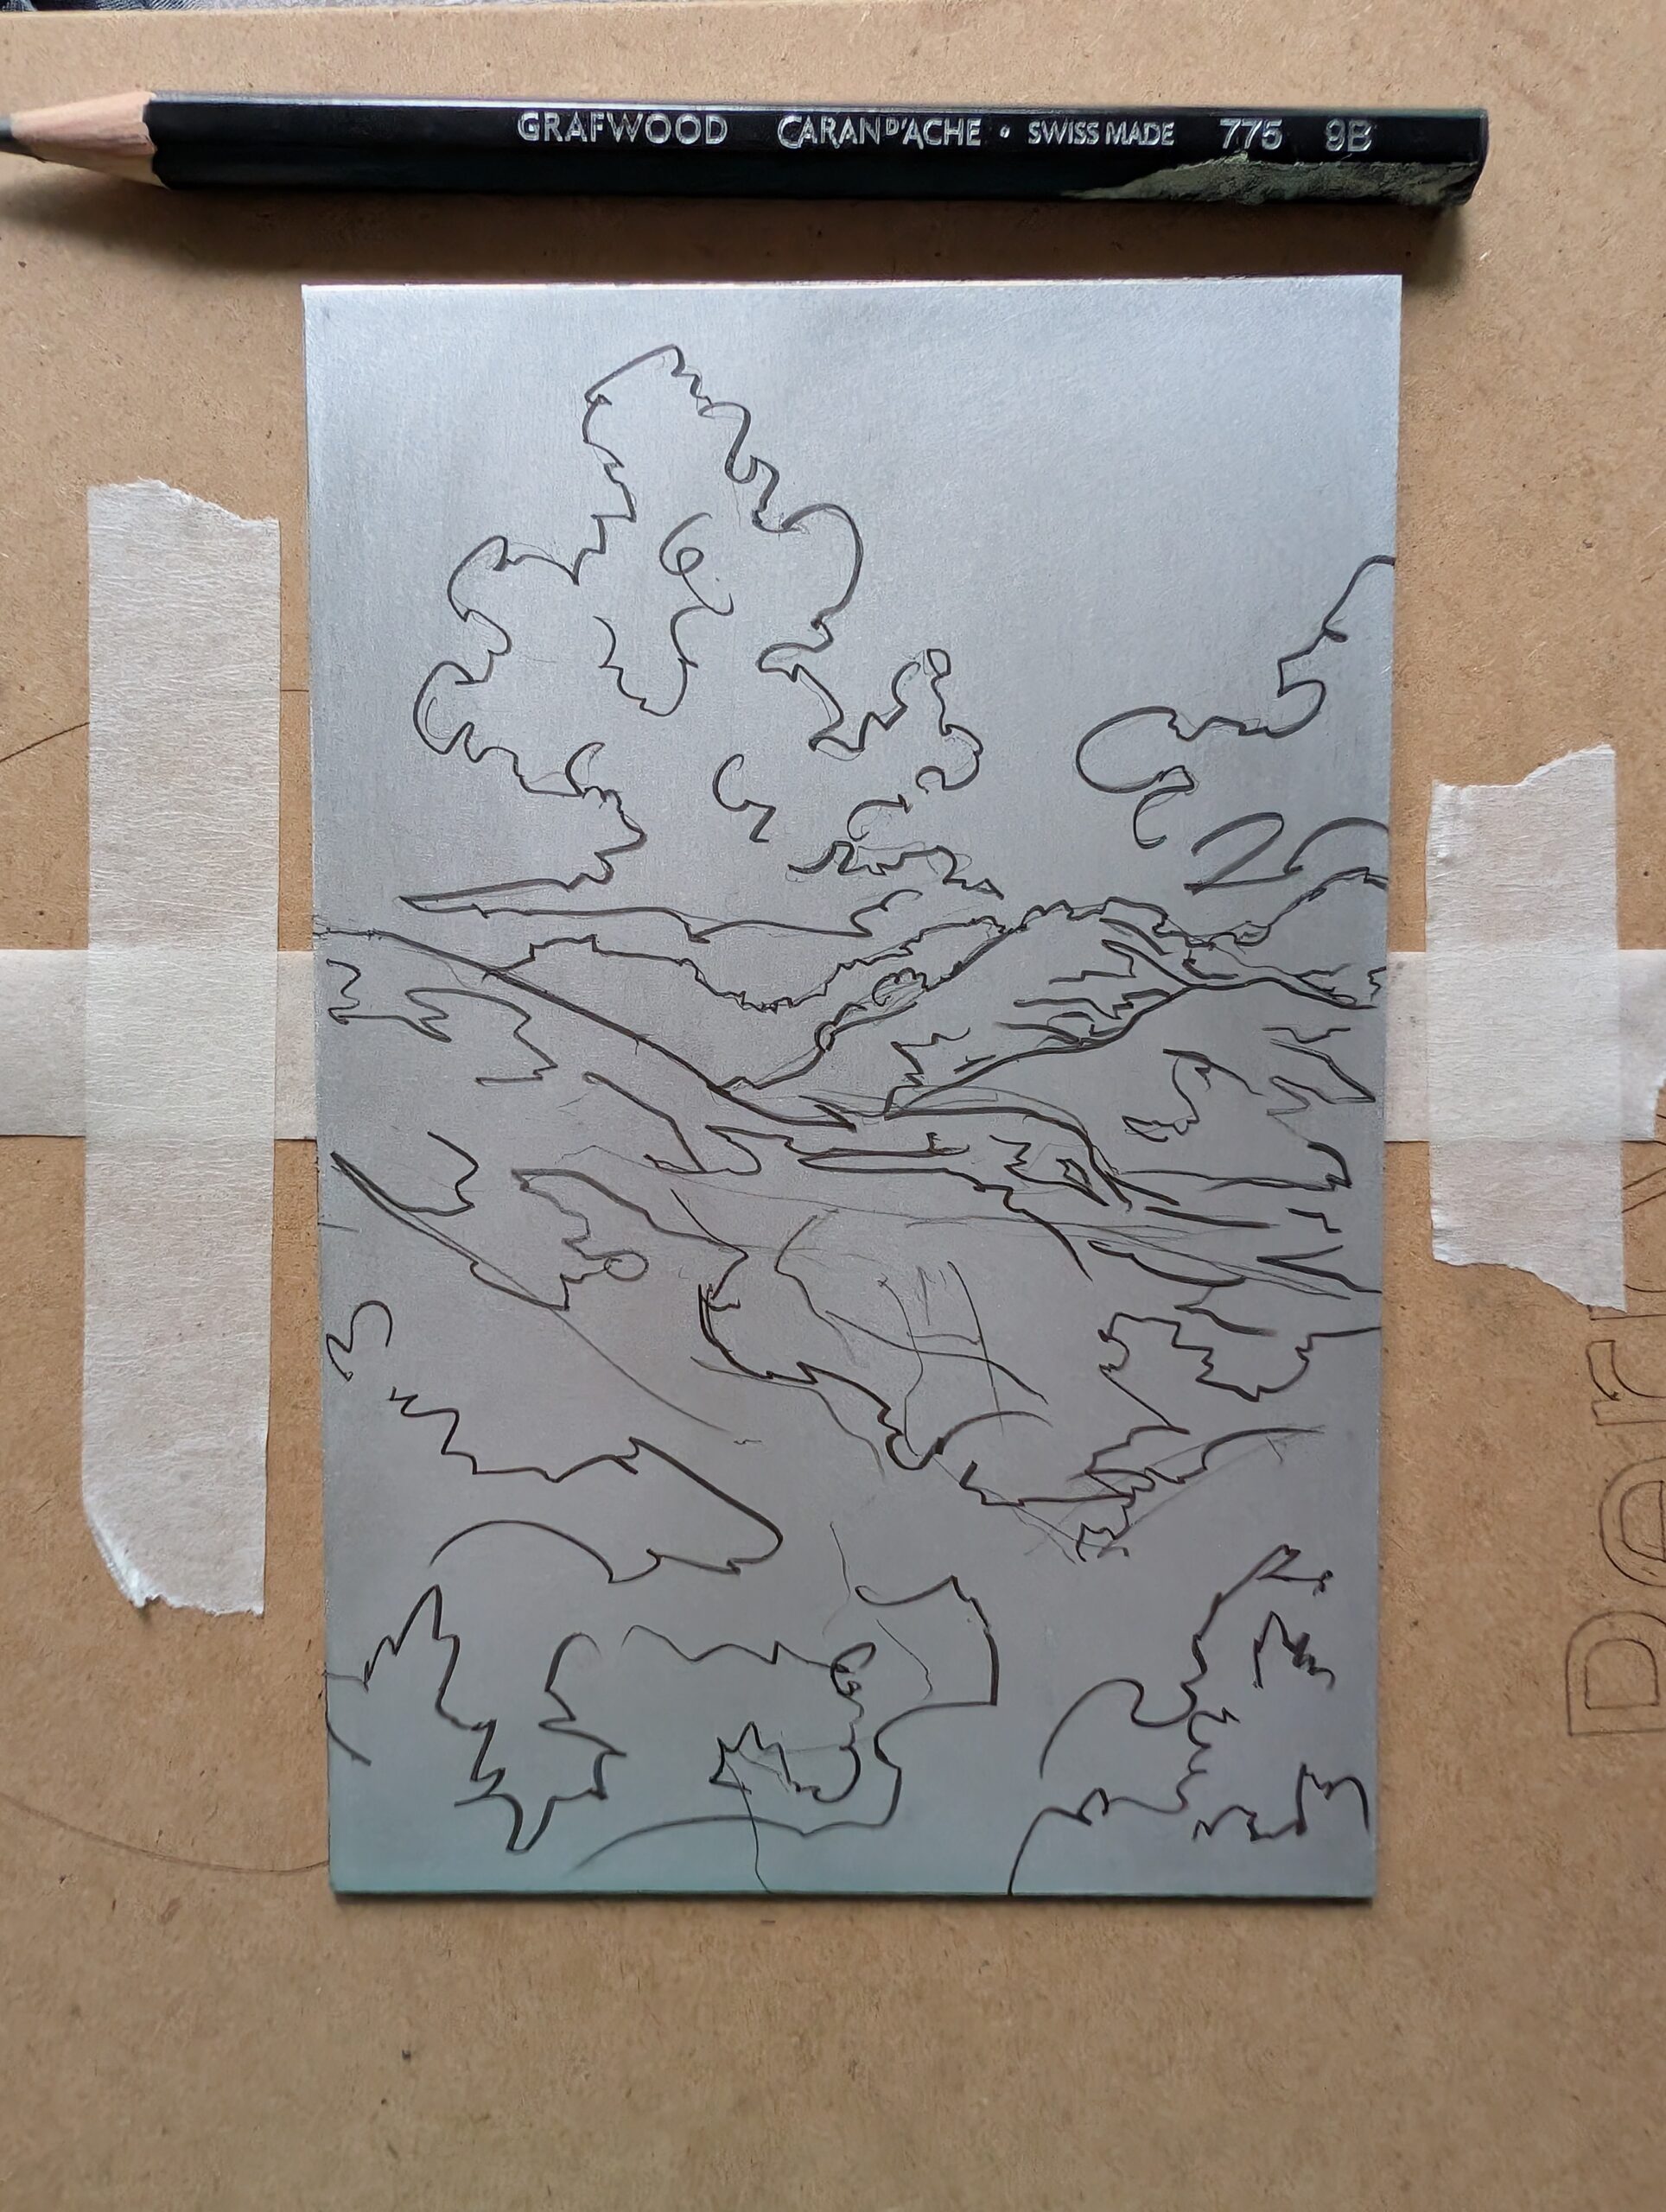
Notes on drawing materials
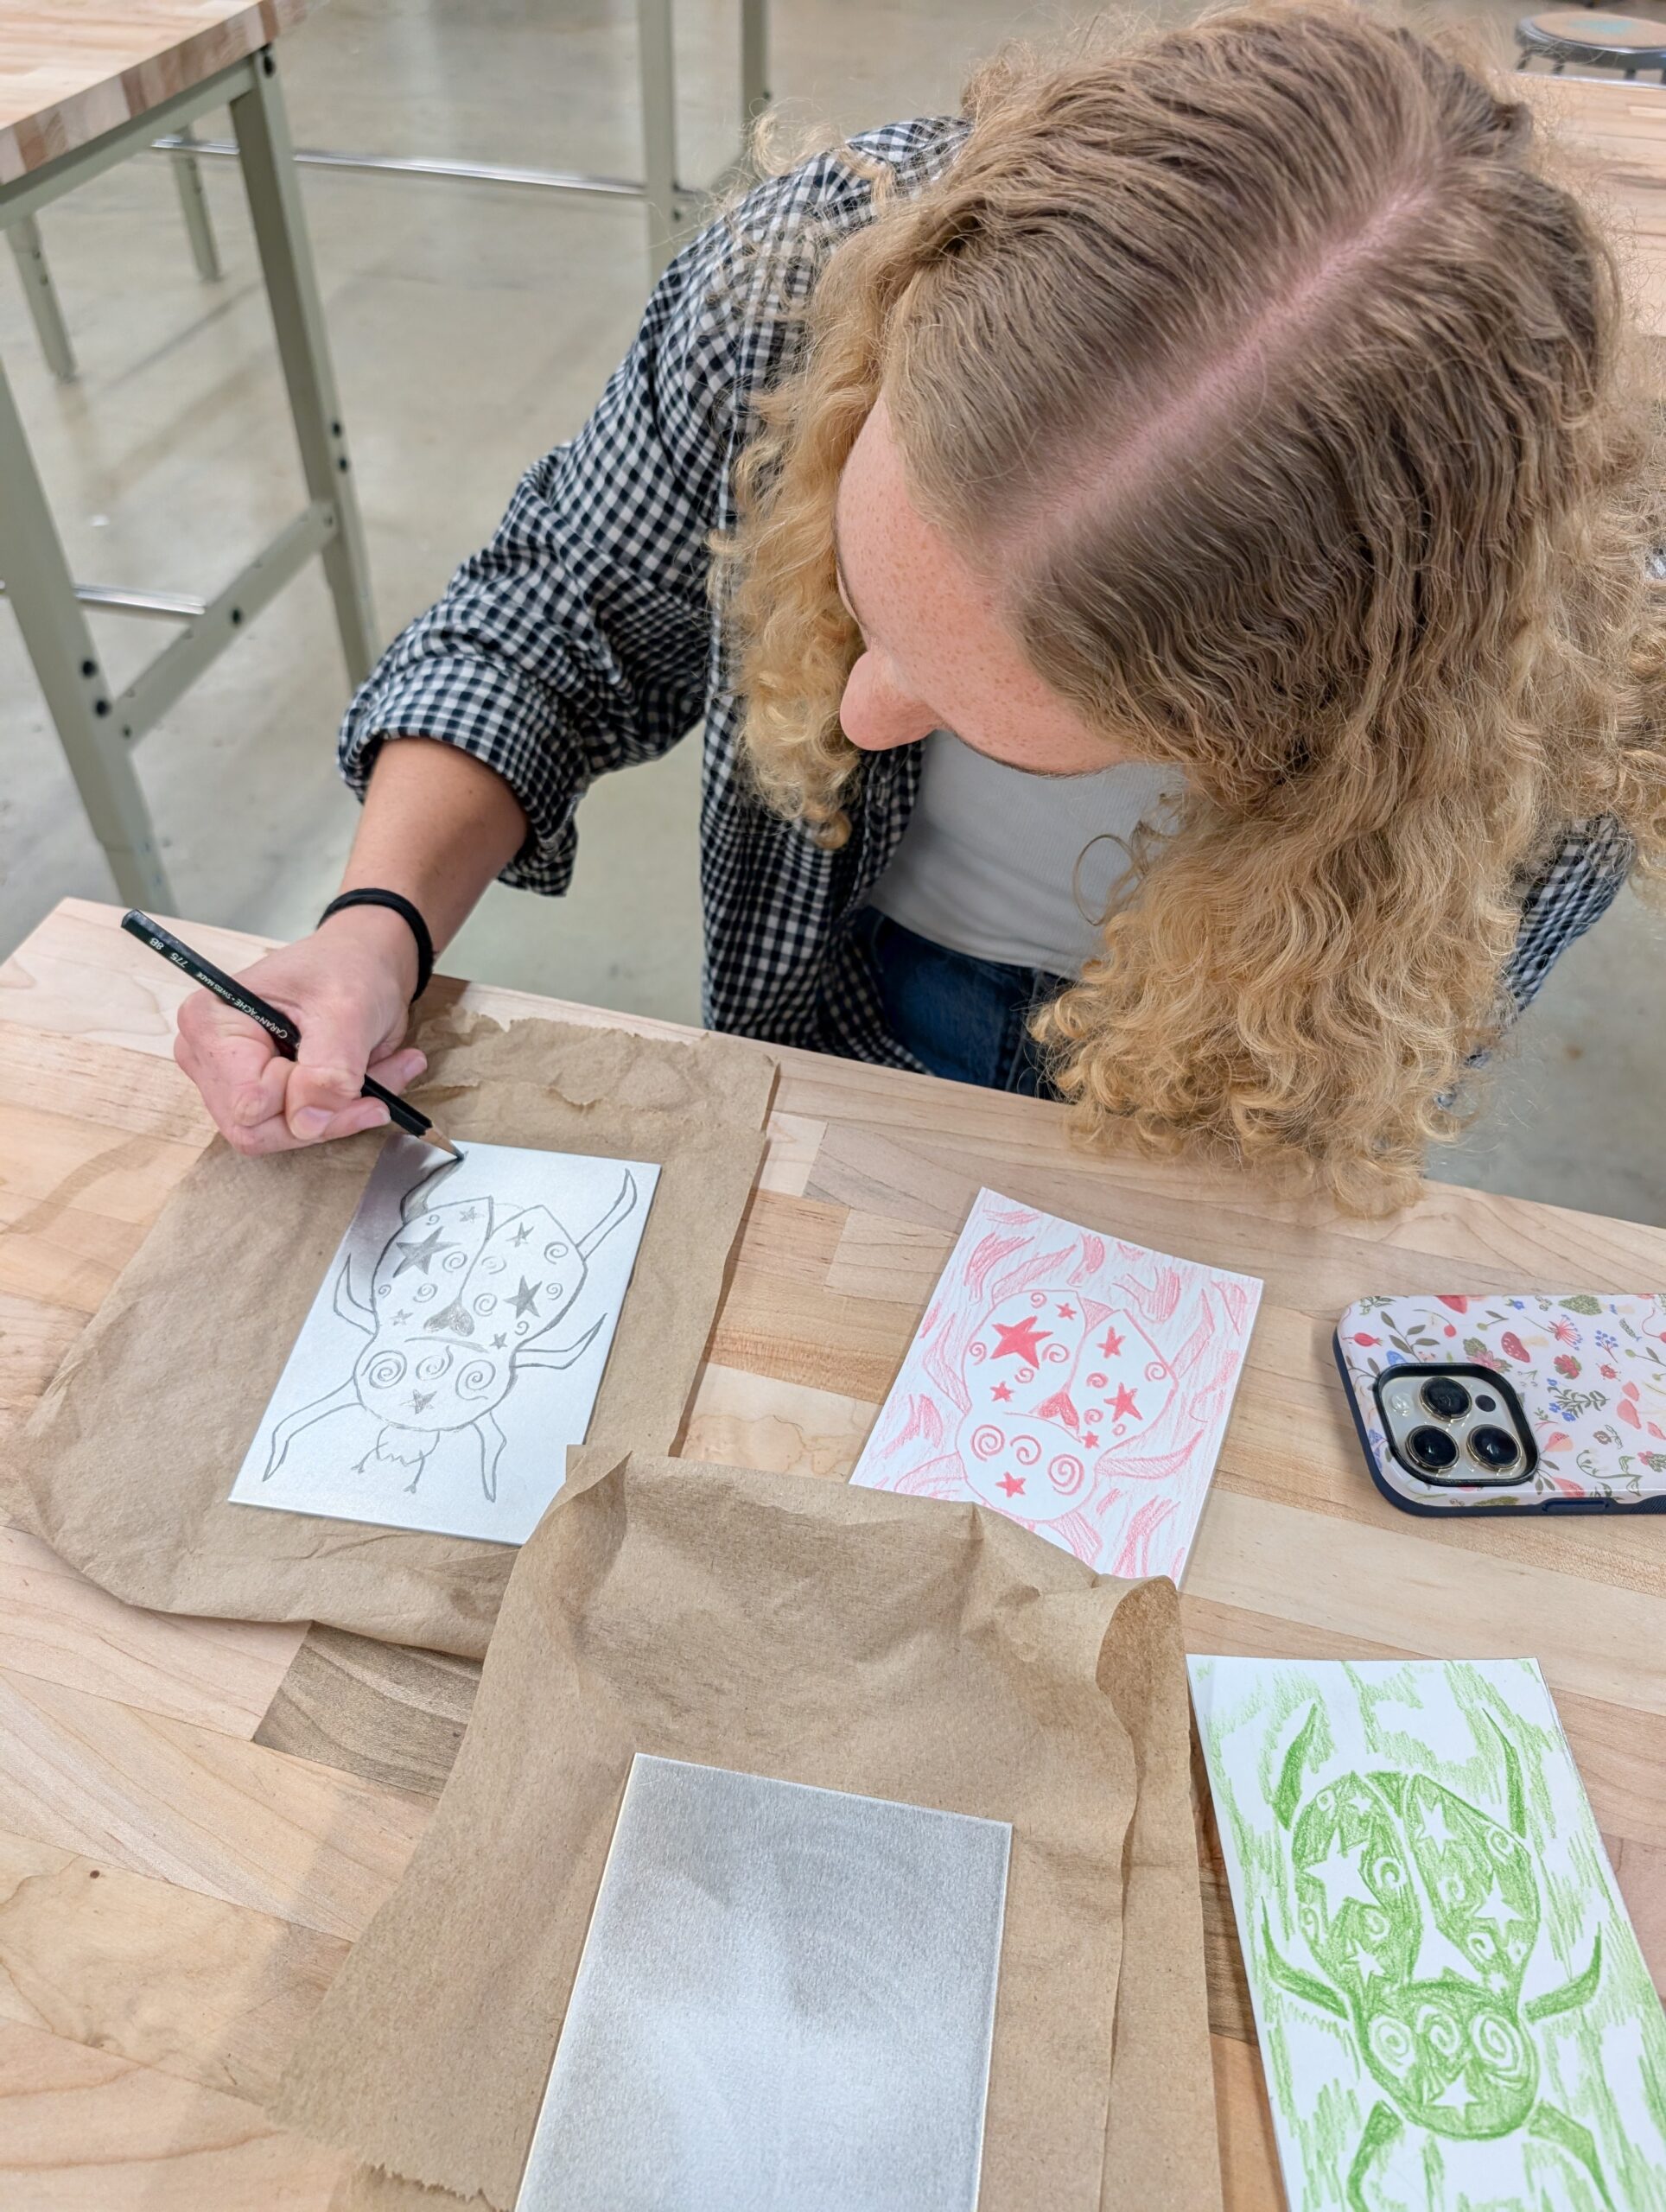
Many drawing/painting materials will work, but some will feel better to work with. Graphite is nice because it glides across the plate. In fact, graphite is often used as an industrial lubricant. Waxy colored pencils lift easily but can drag on the metal surface; warming the plate can help. Litho crayons can work, but require an undiluted varnish (I have only experimented with Korn’s).
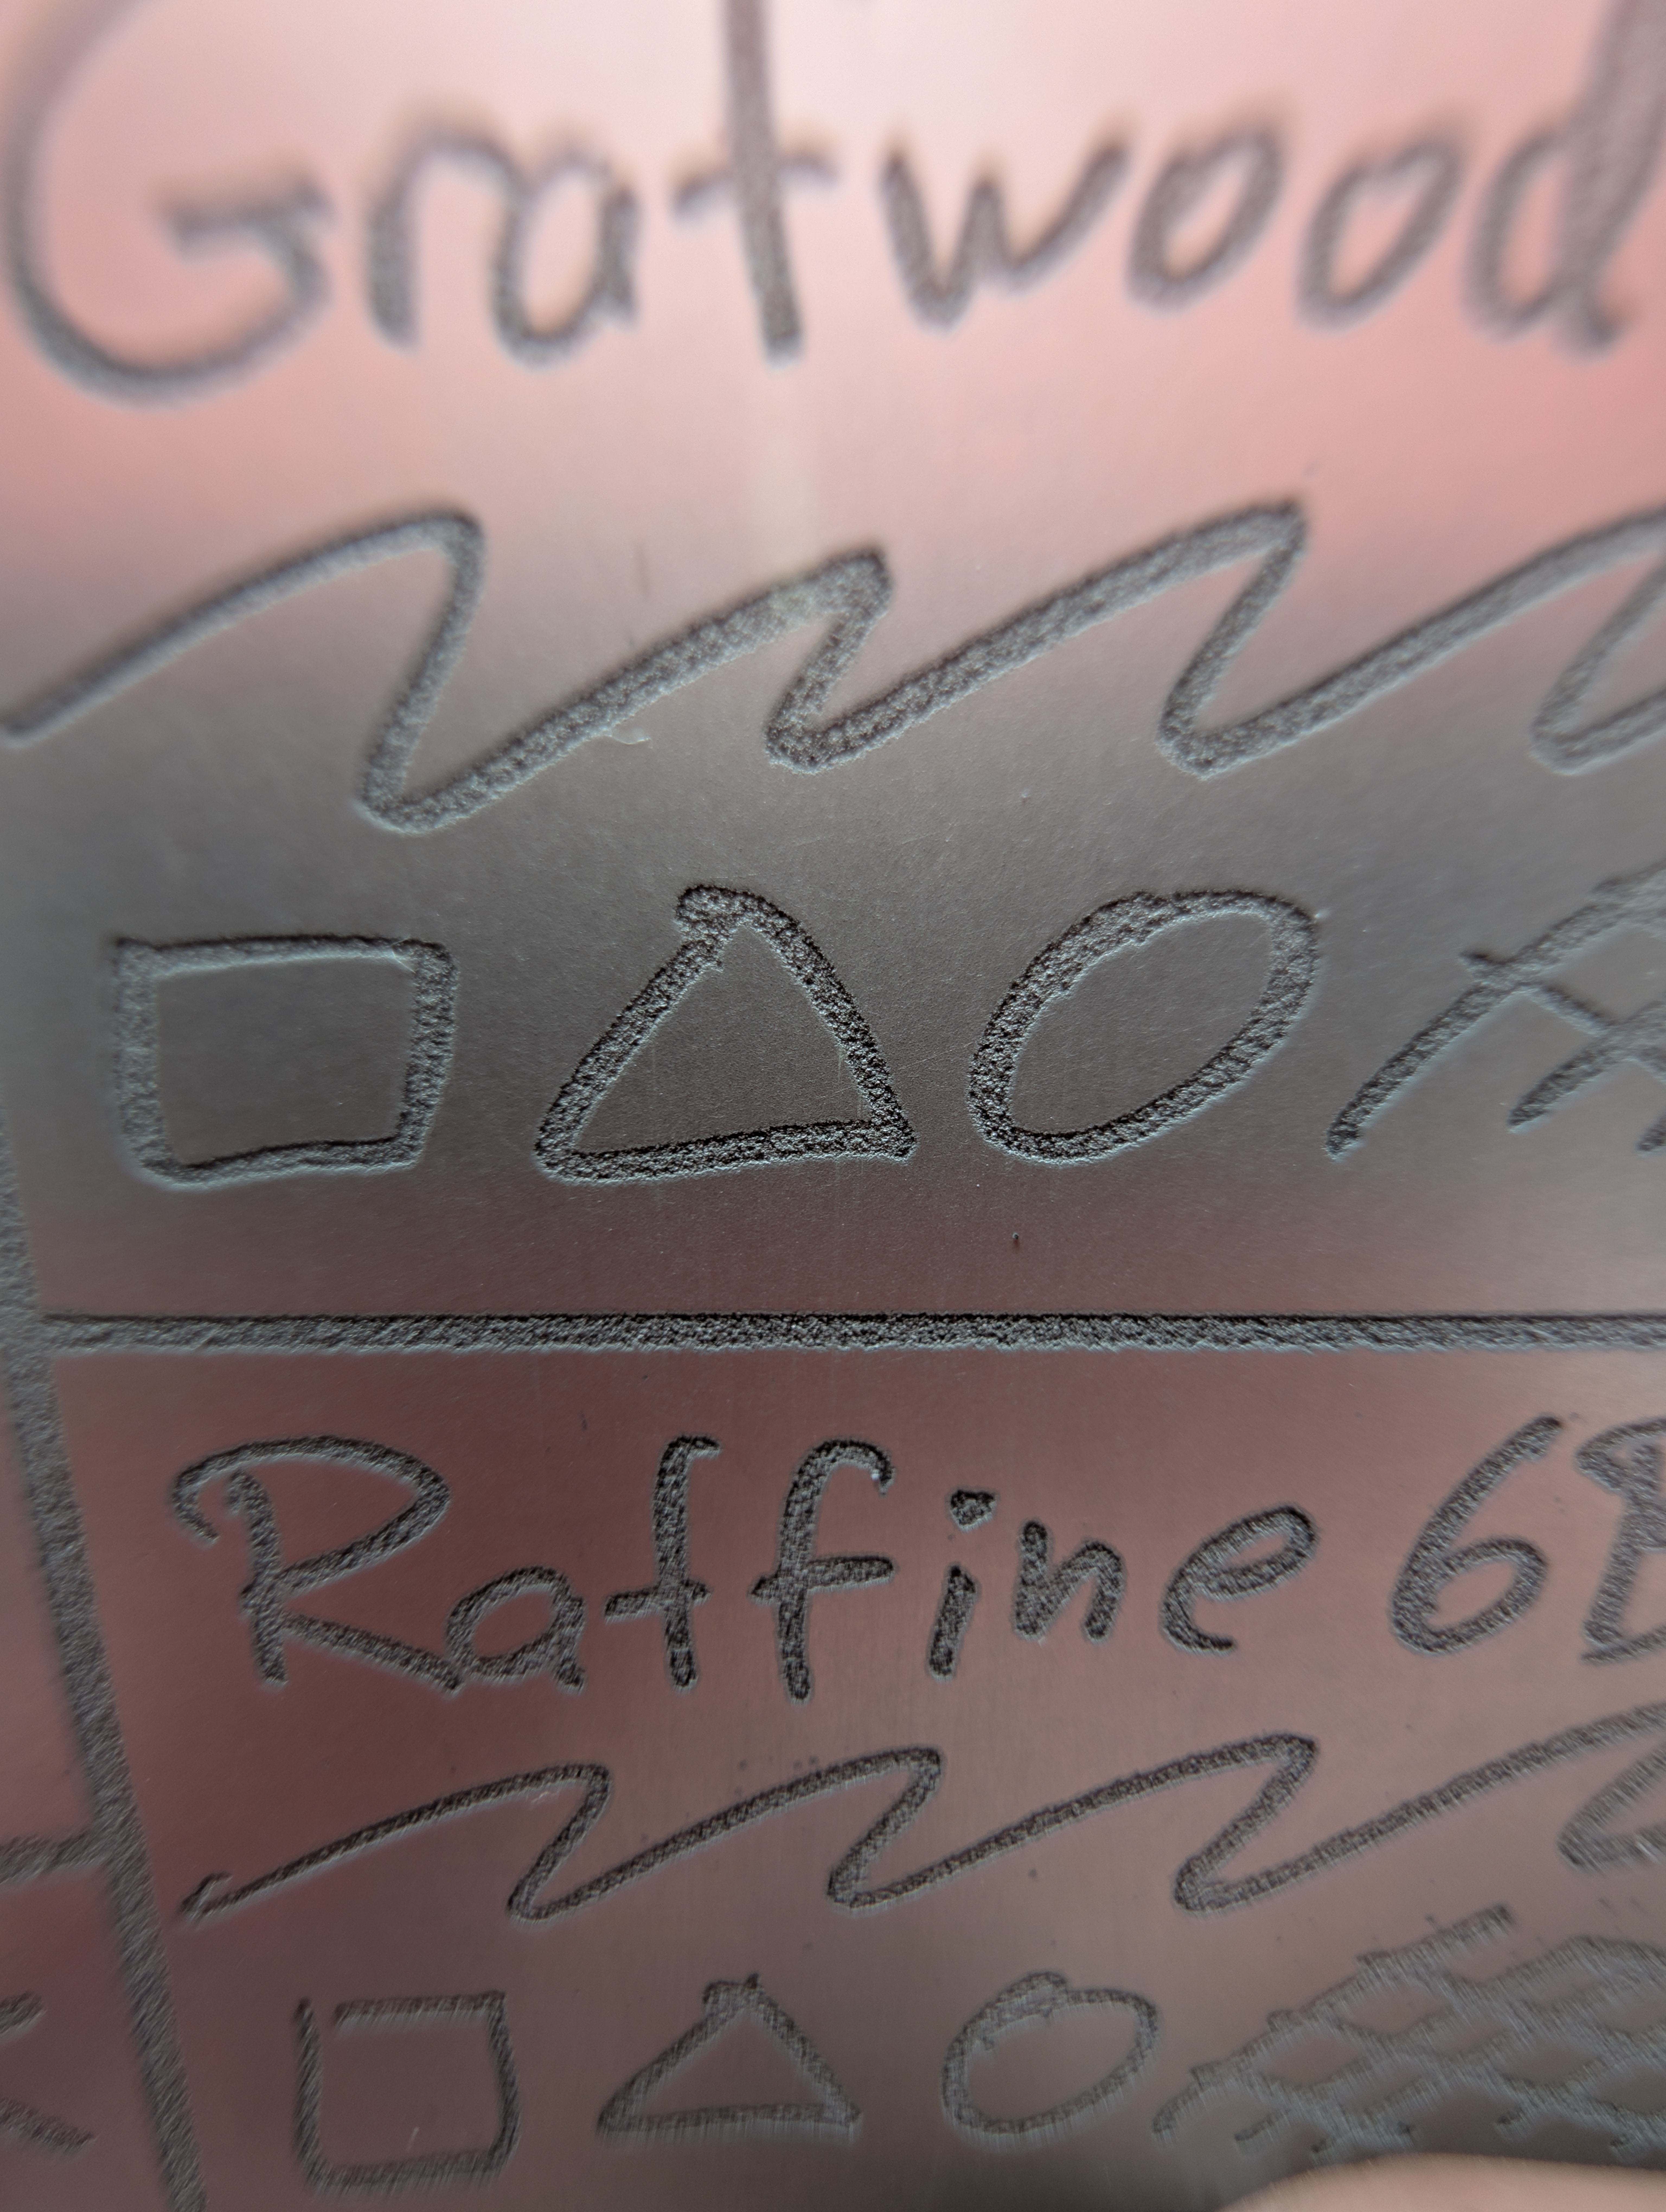
As you can see from the demo plate, many materials work quite well. I’ll list below some of my favorite drawing materials for this process.
- Caran d’Ache graphite pencils – Grafwood, Grafstone, etc. These are the best!
- Tombow Mono graphite pencils,
- Pilot Neox mechanical pencil lead. I have the 0.9mm
- Prismacolor pencils
- Mitsubishi Dermatograph / China markers
- Oil pastels
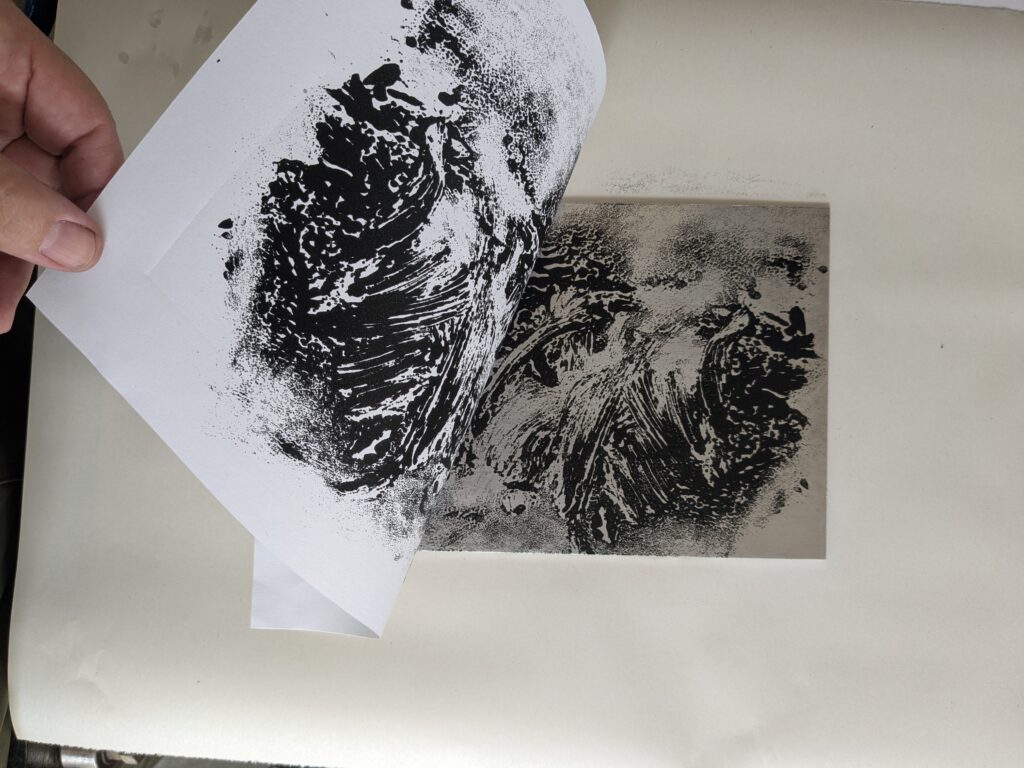
You can also print or offset ink onto the plate (see post on that)
Oil based ink or paint can be used directly or indirectly. Do not use water soluble varieties.
Step 3 – Ground the Plate
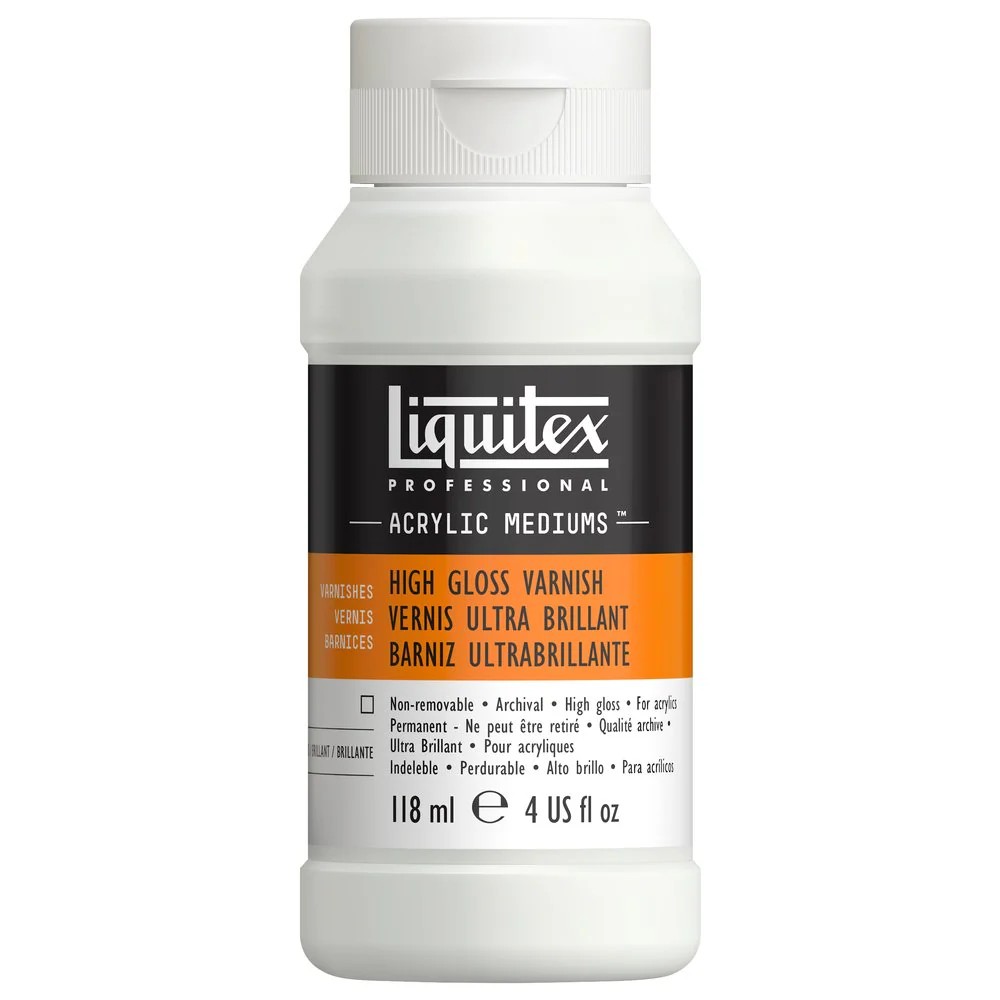
Acrylic Varnish + Distilled Water – 50/50
I have experimented with many types of acrylic for use as a ground – artist materials and commercial floor polishes. The simplest, best performing, and most widely available is Liquitex High Gloss Acrylic Varnish mixed 1:1 with water.
It’s important to use the acrylic varnish (water based) and not Liquitex Soluvar (solvent based). If Liquitex isn’t available to you, other water based acrylics may work. You want an acrylic that dries to a hard film that will withstand some scrubbing of the lift material. Be prepared to experiment and you may need to adjust the ratio of water. If the varnish is too thick, your drawn marks may not lift.
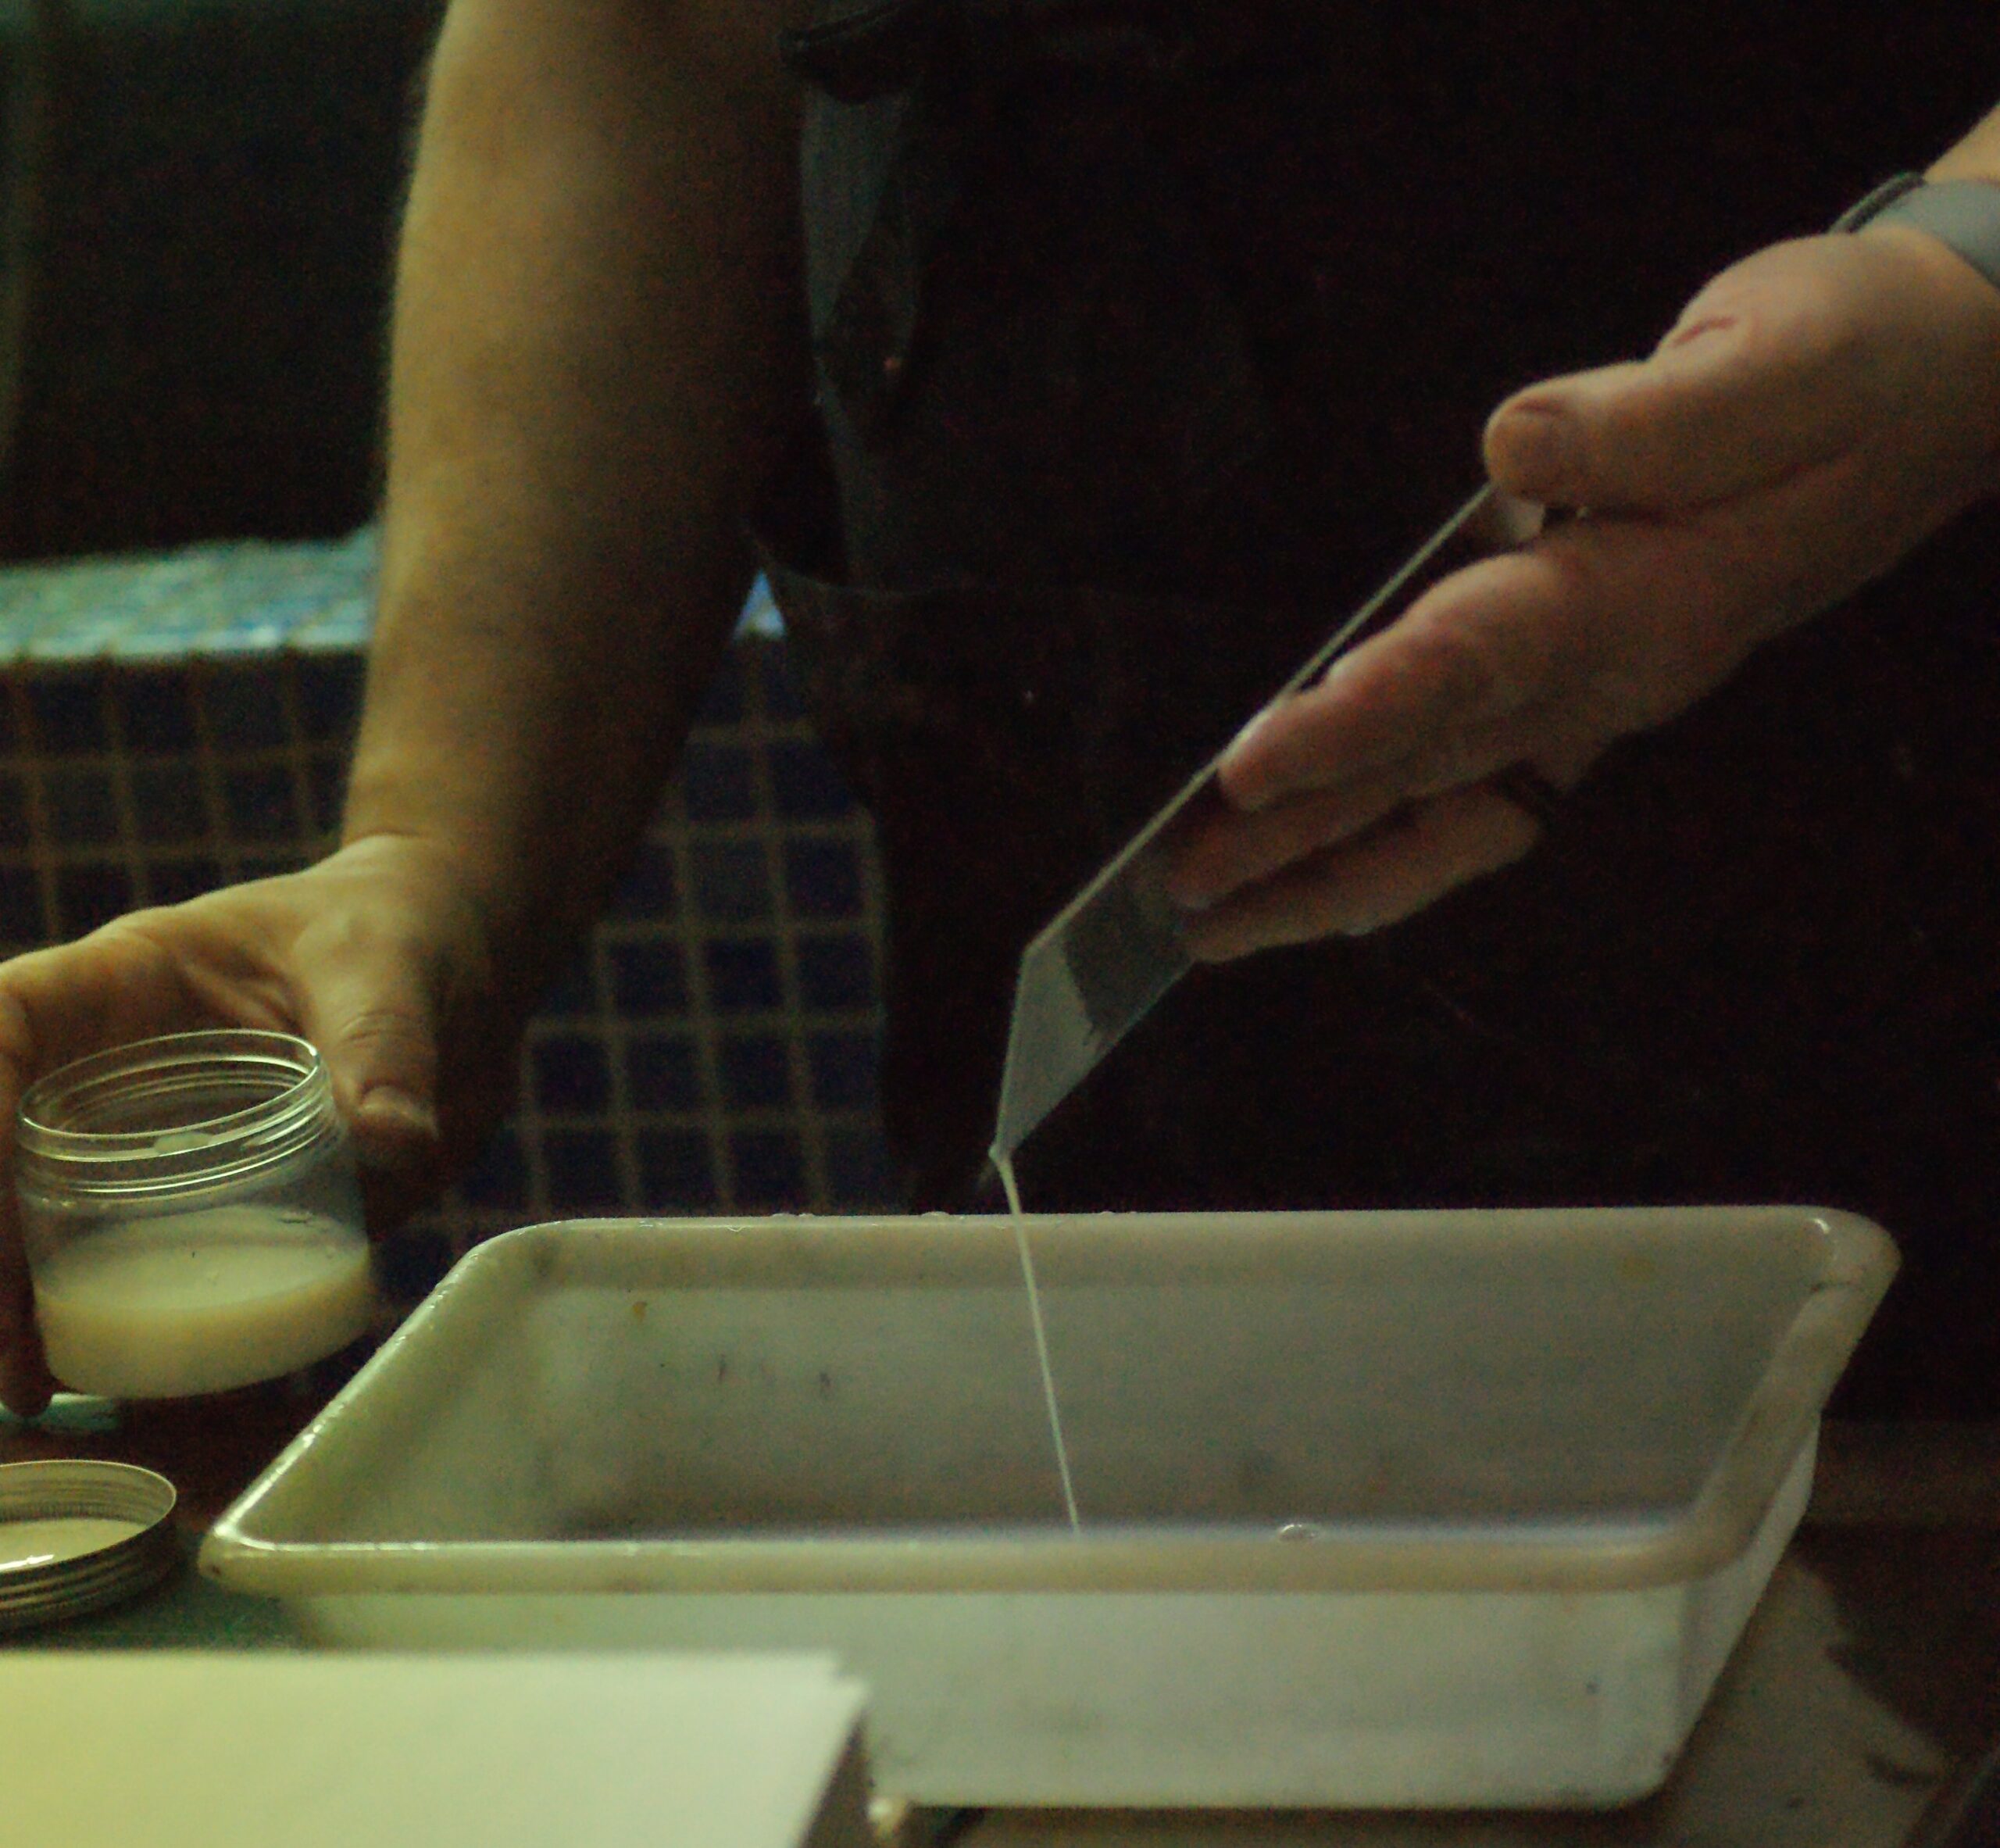
Place the plate into a tray and pour the ground over it, ensuring all areas are covered. You could also use a sponge brush, just apply a thin and even coat. After removing the plate from the tray, allow the excess ground to drain onto blotting newsprint, rotating to prevent sagging curtains of varnish. This should take under a minute, then lay the plate flat to dry.
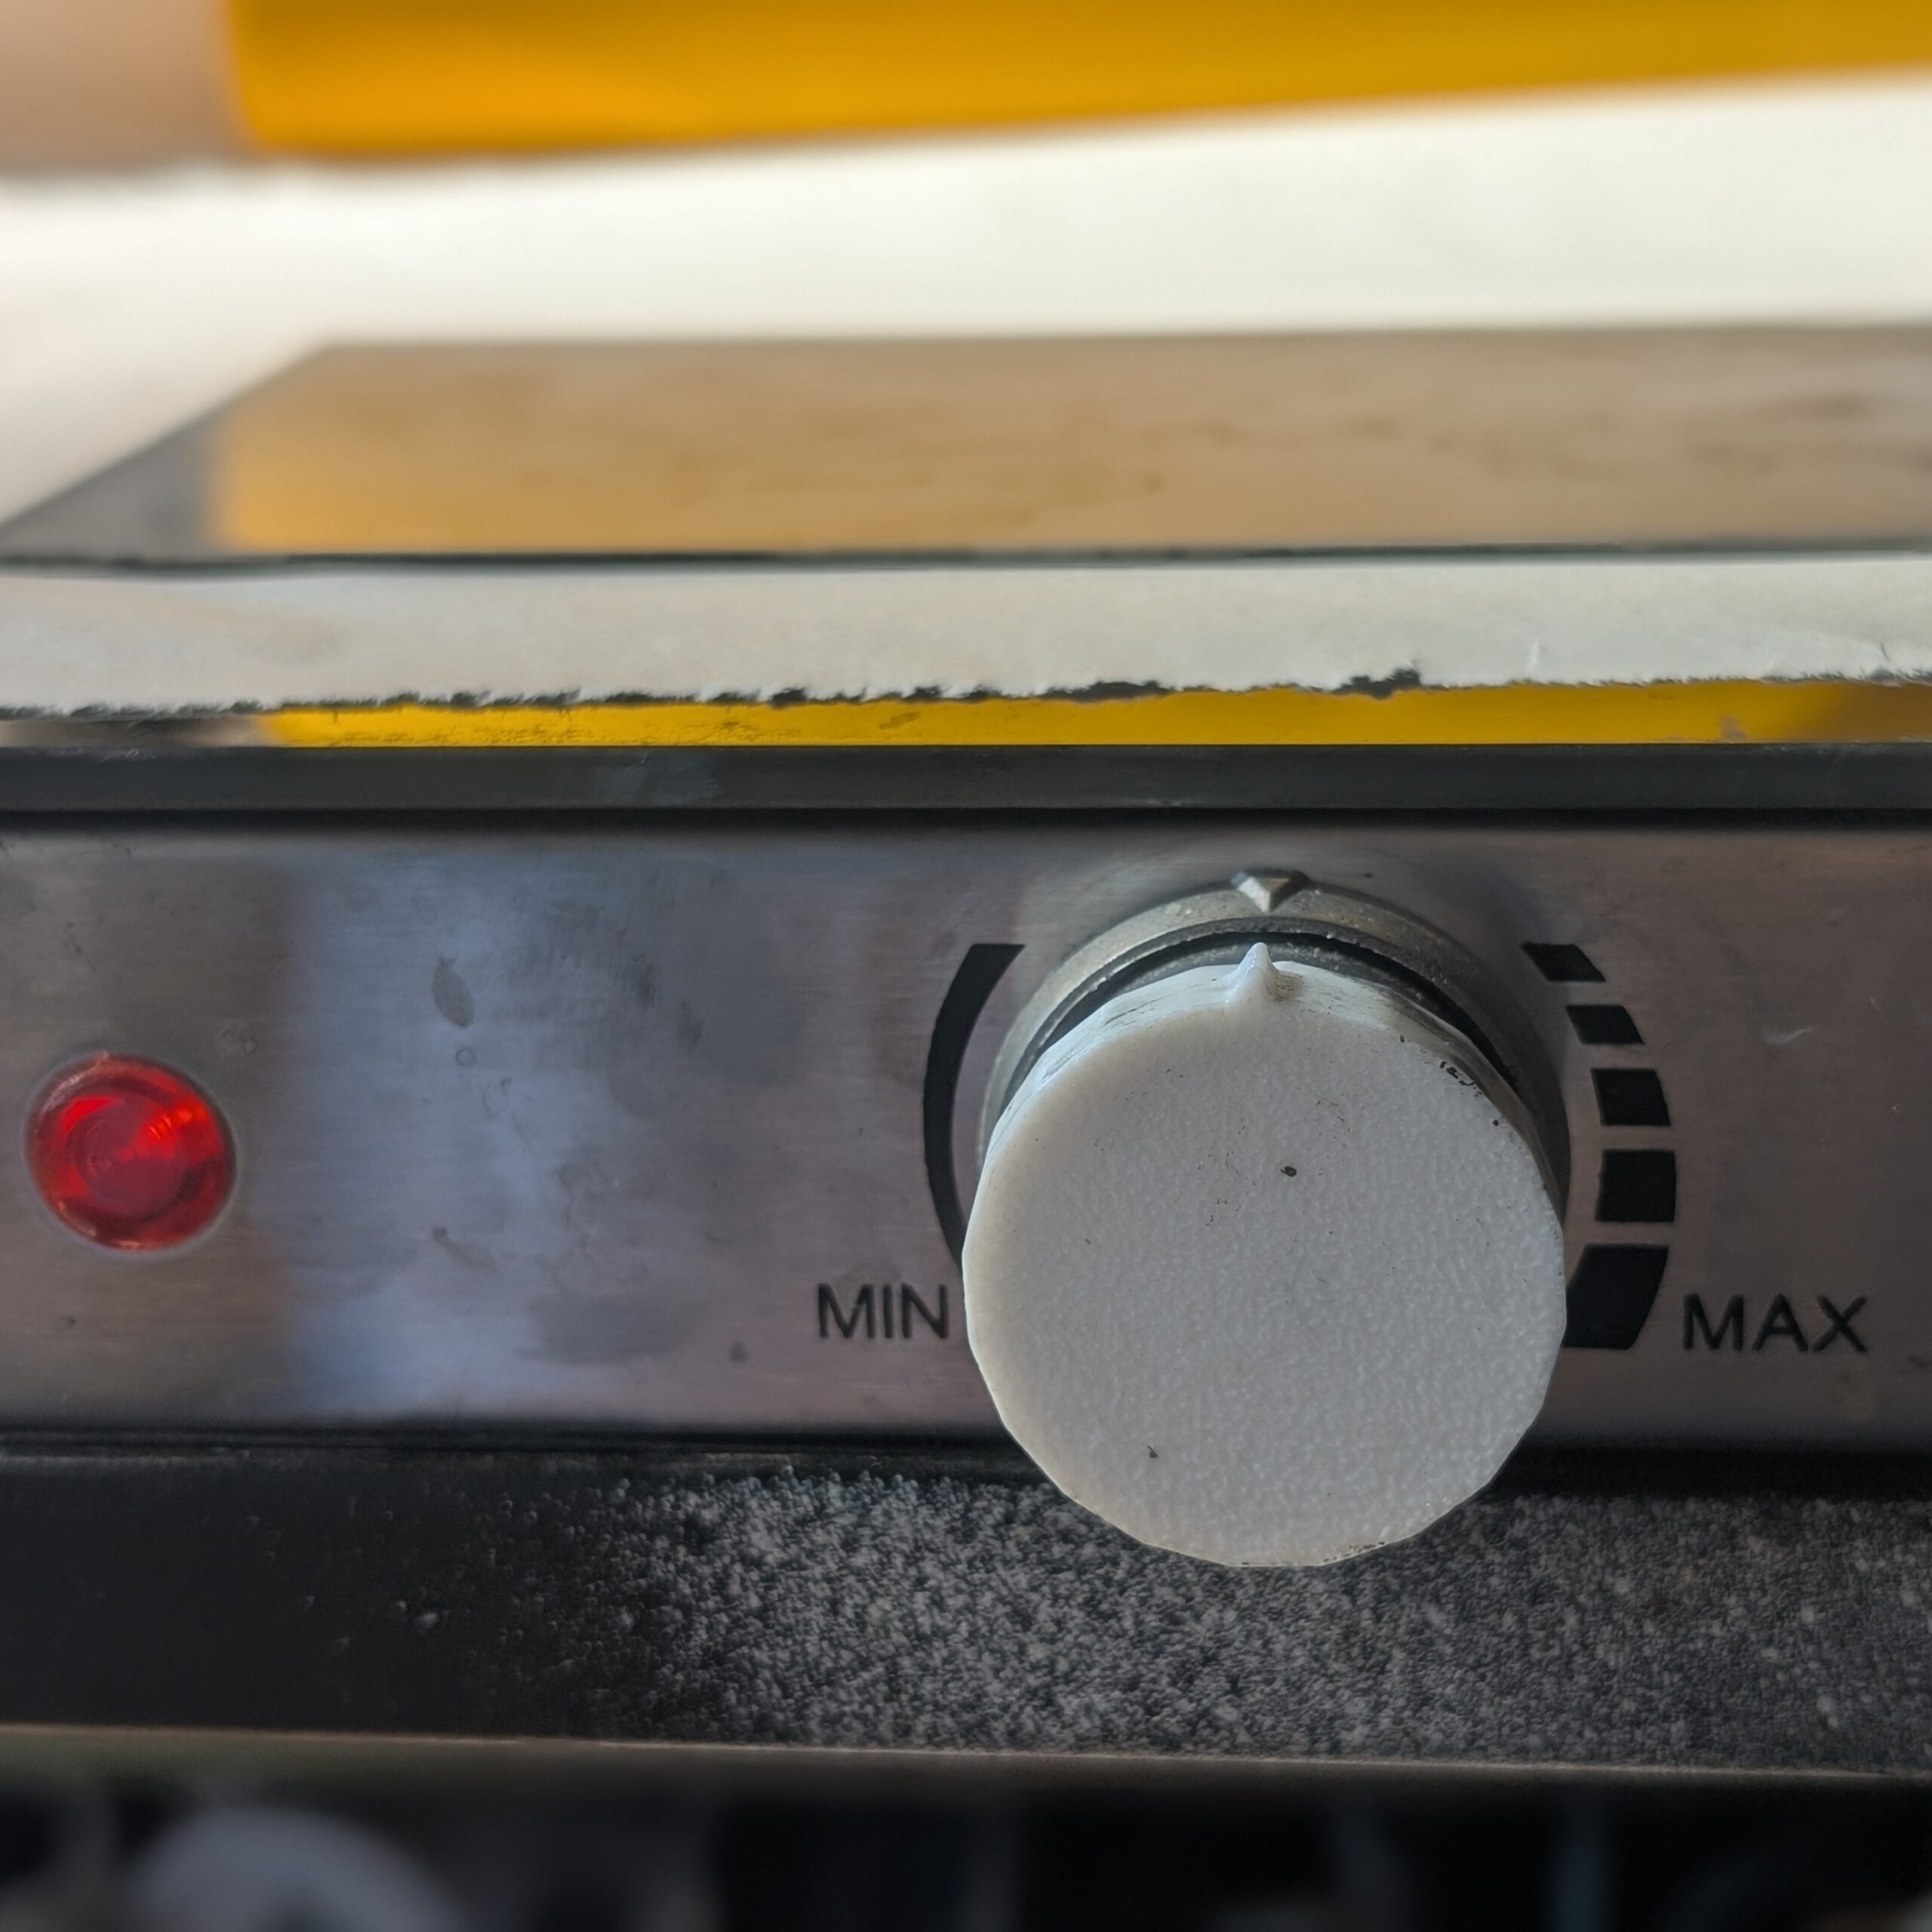
The ground must be cured for the next step. The ground will dry quickly by evaporation and then you can use a hotplate on medium (about 50° C / 122° F) for 15 minutes, use a hair dryer or just wait perhaps overnight.
Step 4 – Wash Out the Drawing
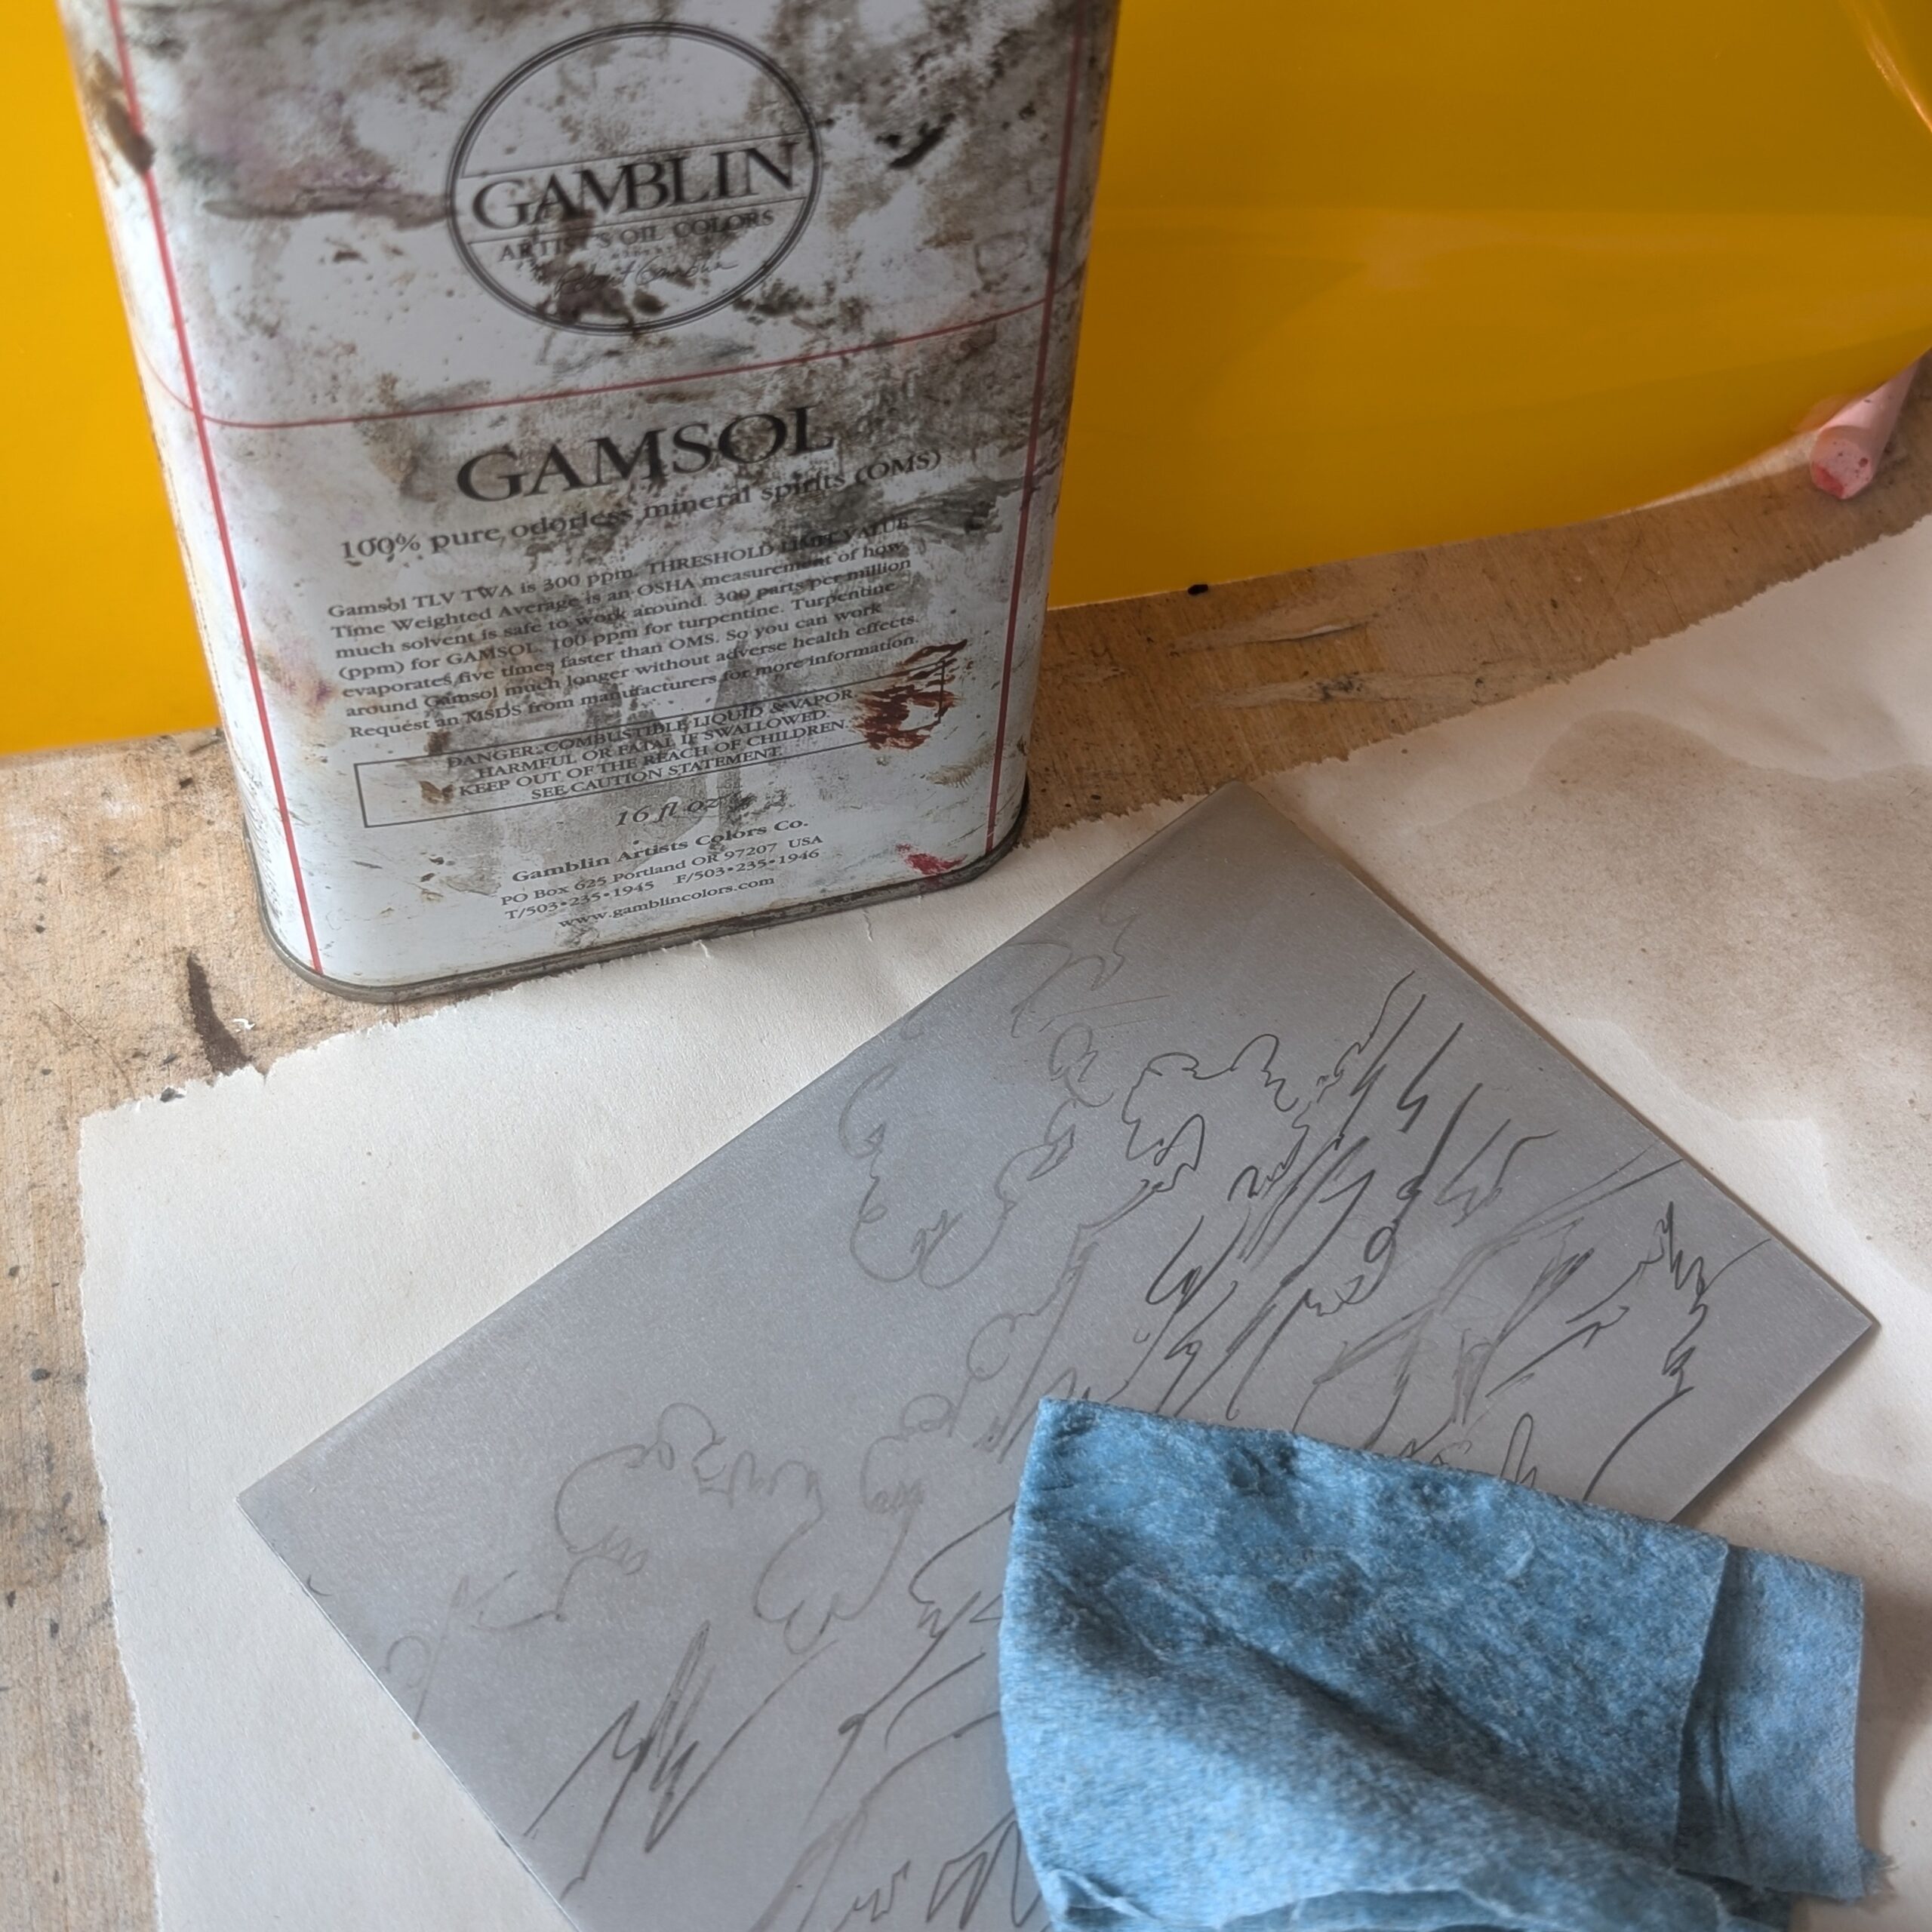
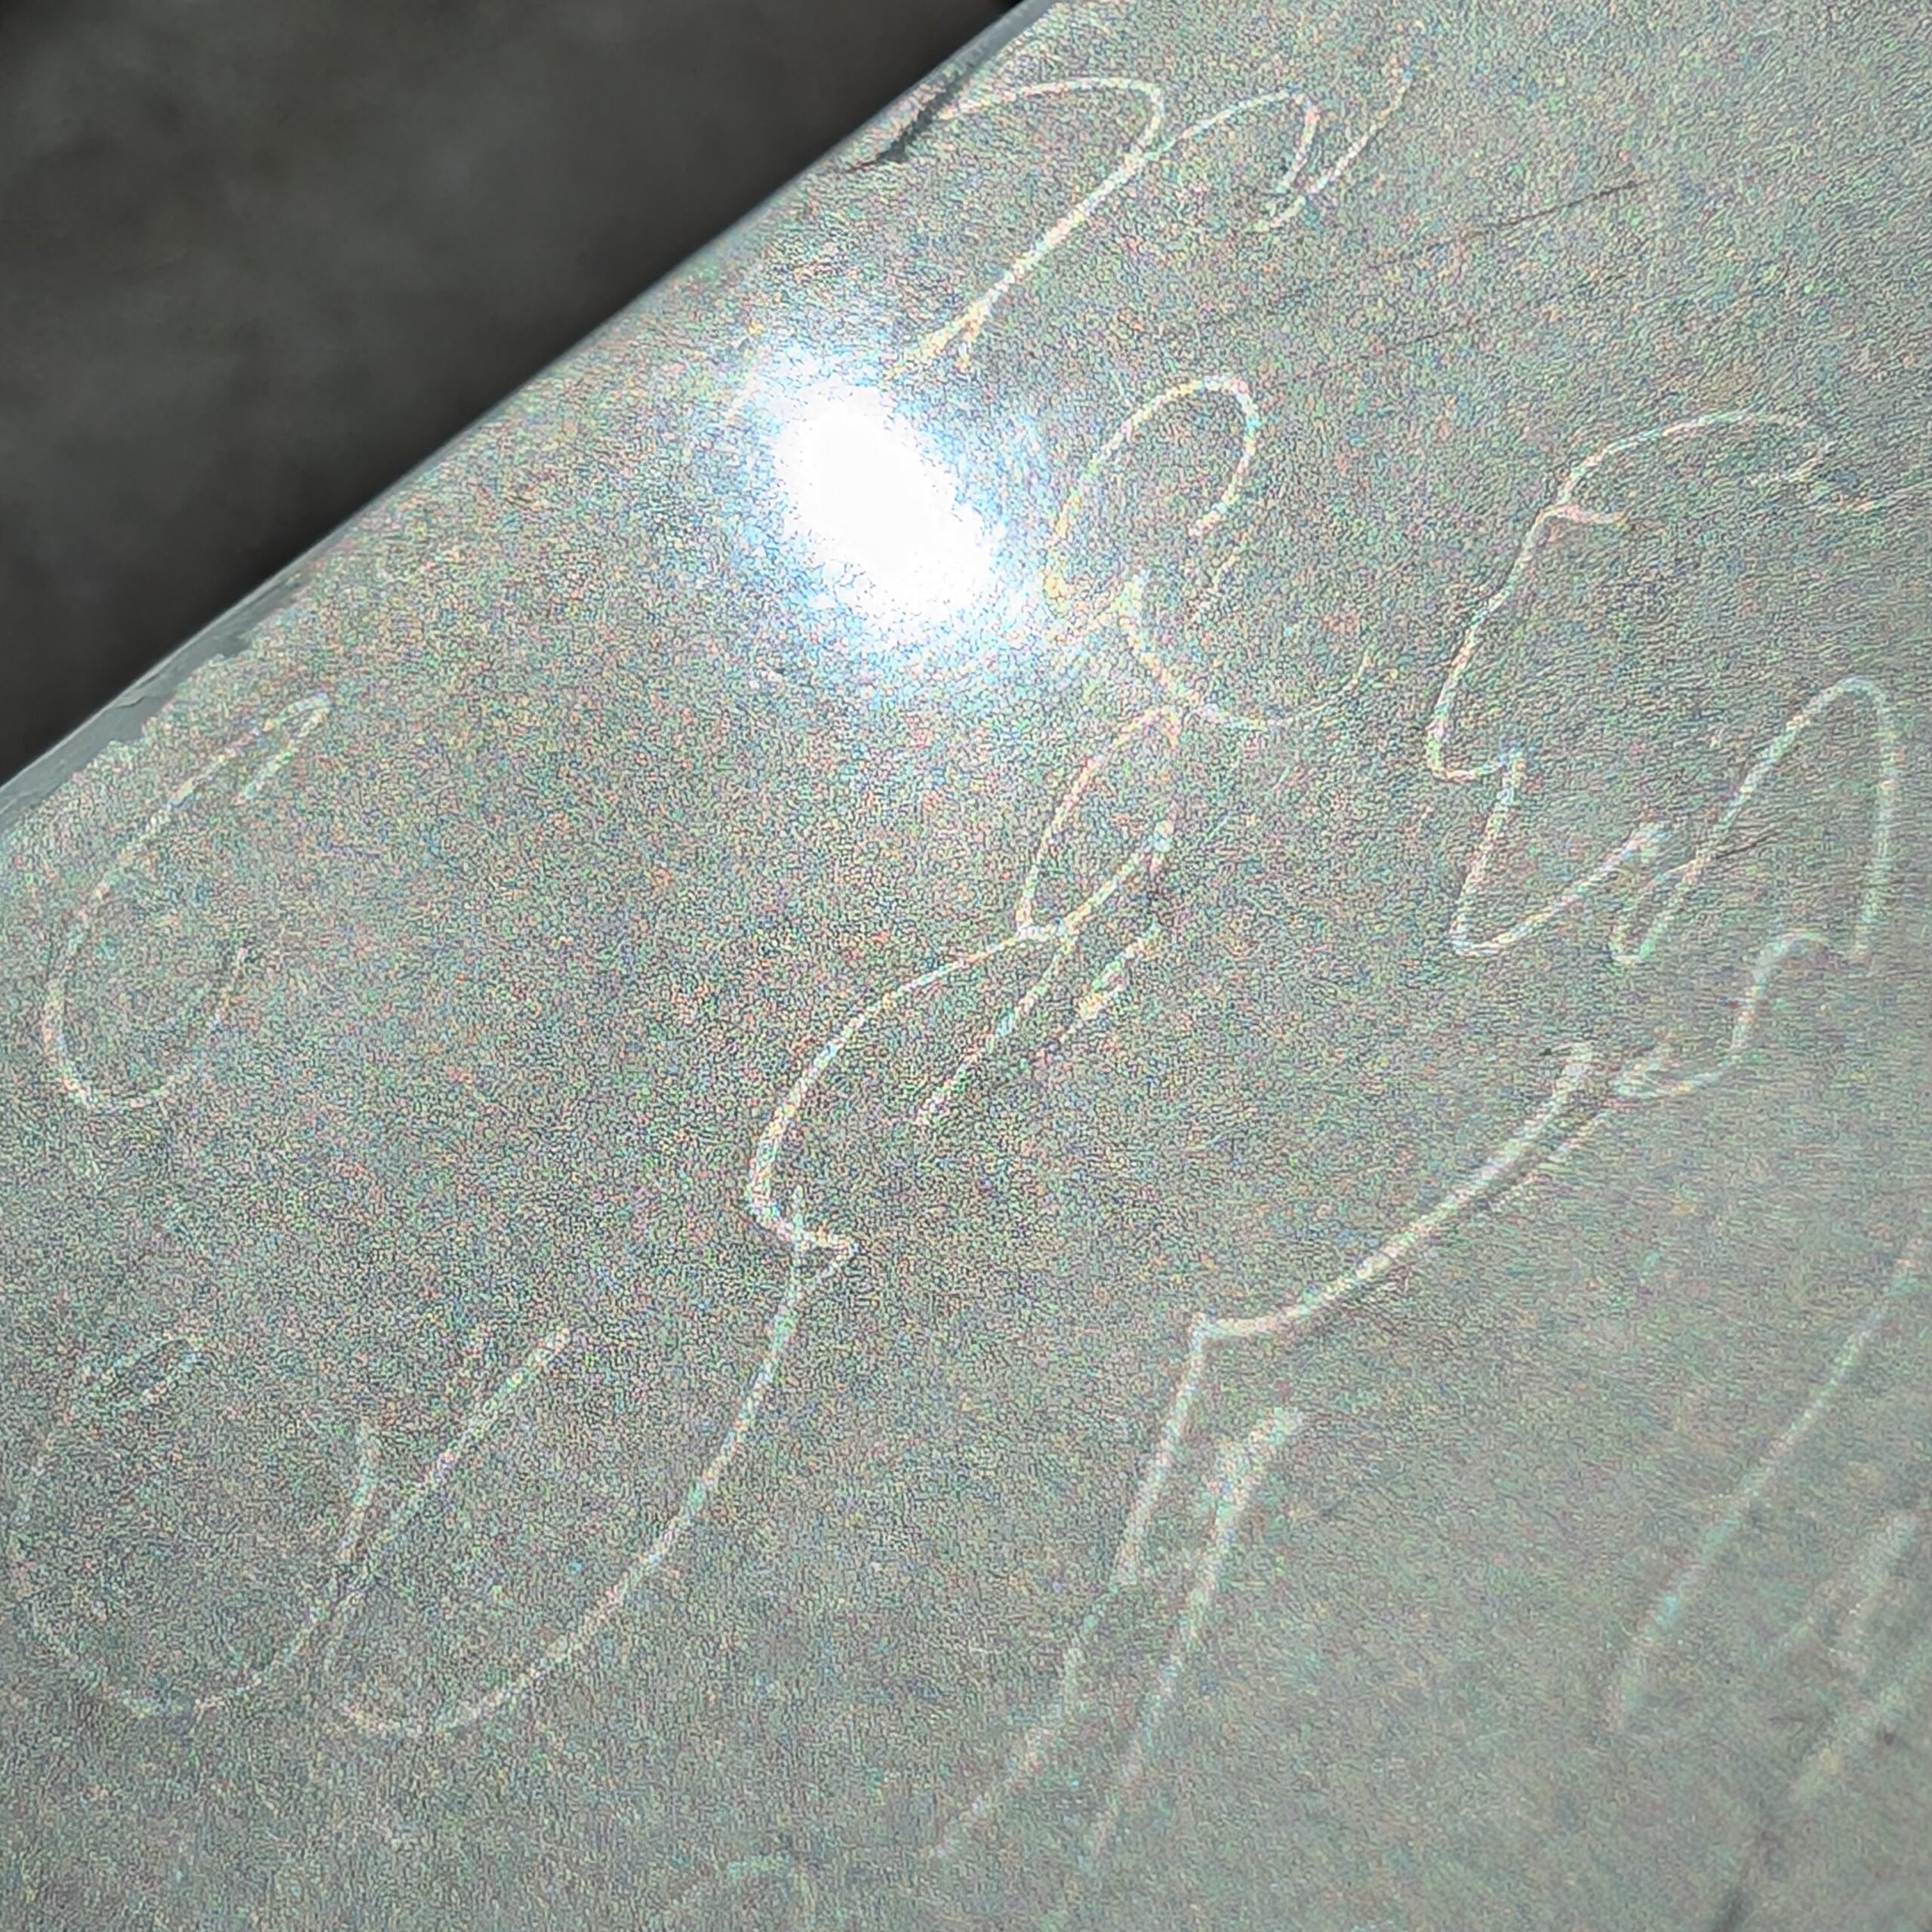
Use a little odorless mineral spirits such as Gamsol and a paper towel or soft rag to gently wash your image away. Be patient, keep the rag moist with solvent, and not too aggressive with your scrubbing; you don’t want to scrub the ground off. Wipe the plate dry with a paper towel or cloth. Allow the mineral spirits to evaporate. You can accelerate evaporation on the hotplate.
Step 5 – Etch the Plate
Standard etching procedure
The plate can now be etched in your preferred etchant. I use aluminum plates and a copper sulfate/salt etchant. You can stop out any areas you don’t wish to etch at any time. Alcohol-based stopout may damage the acrylic ground. Dermatograph/China markers are useful stopout tools.
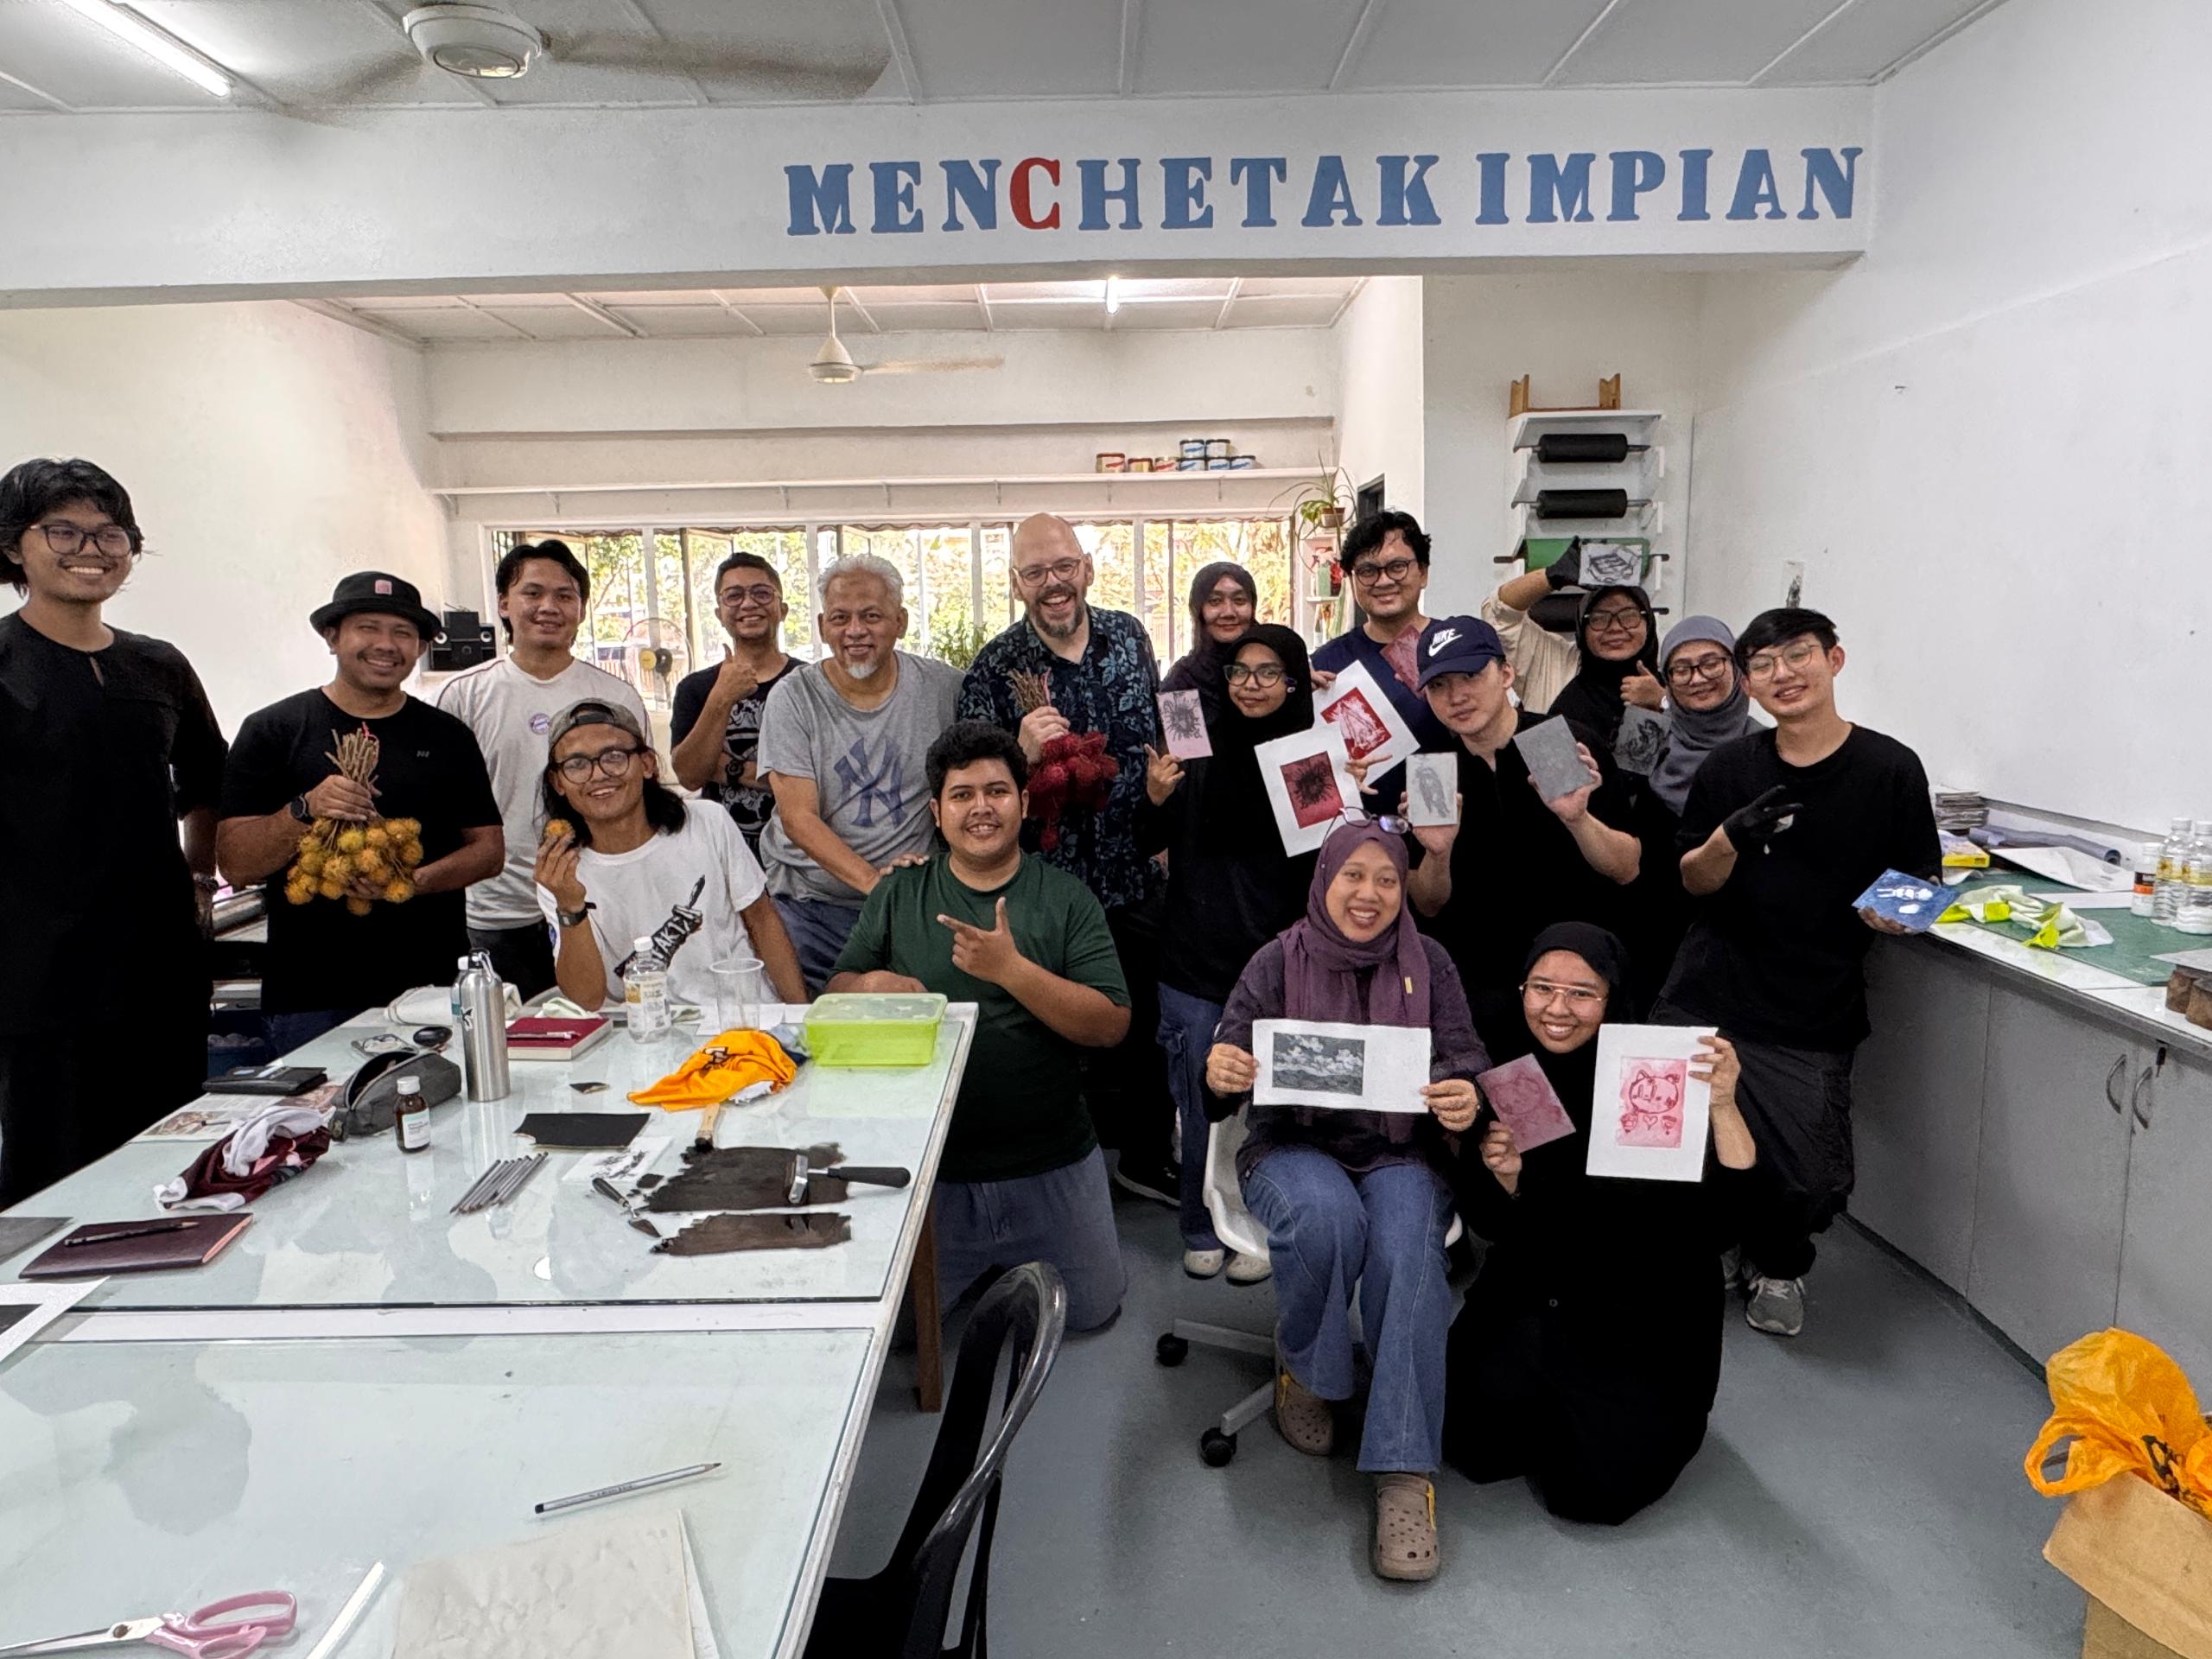
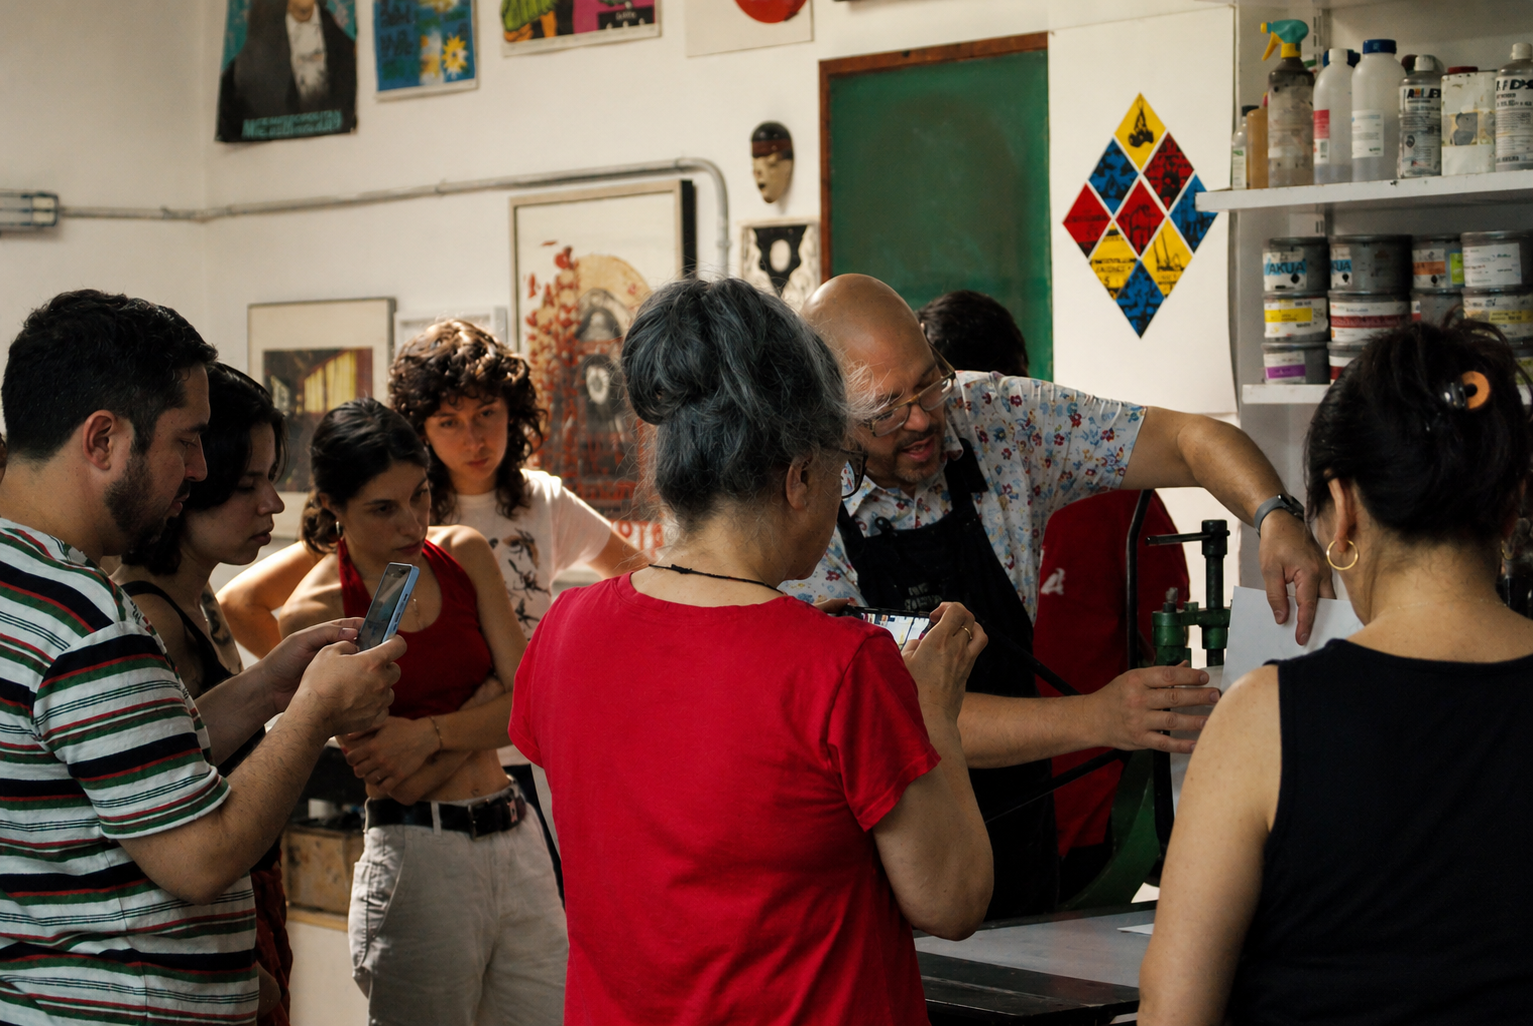
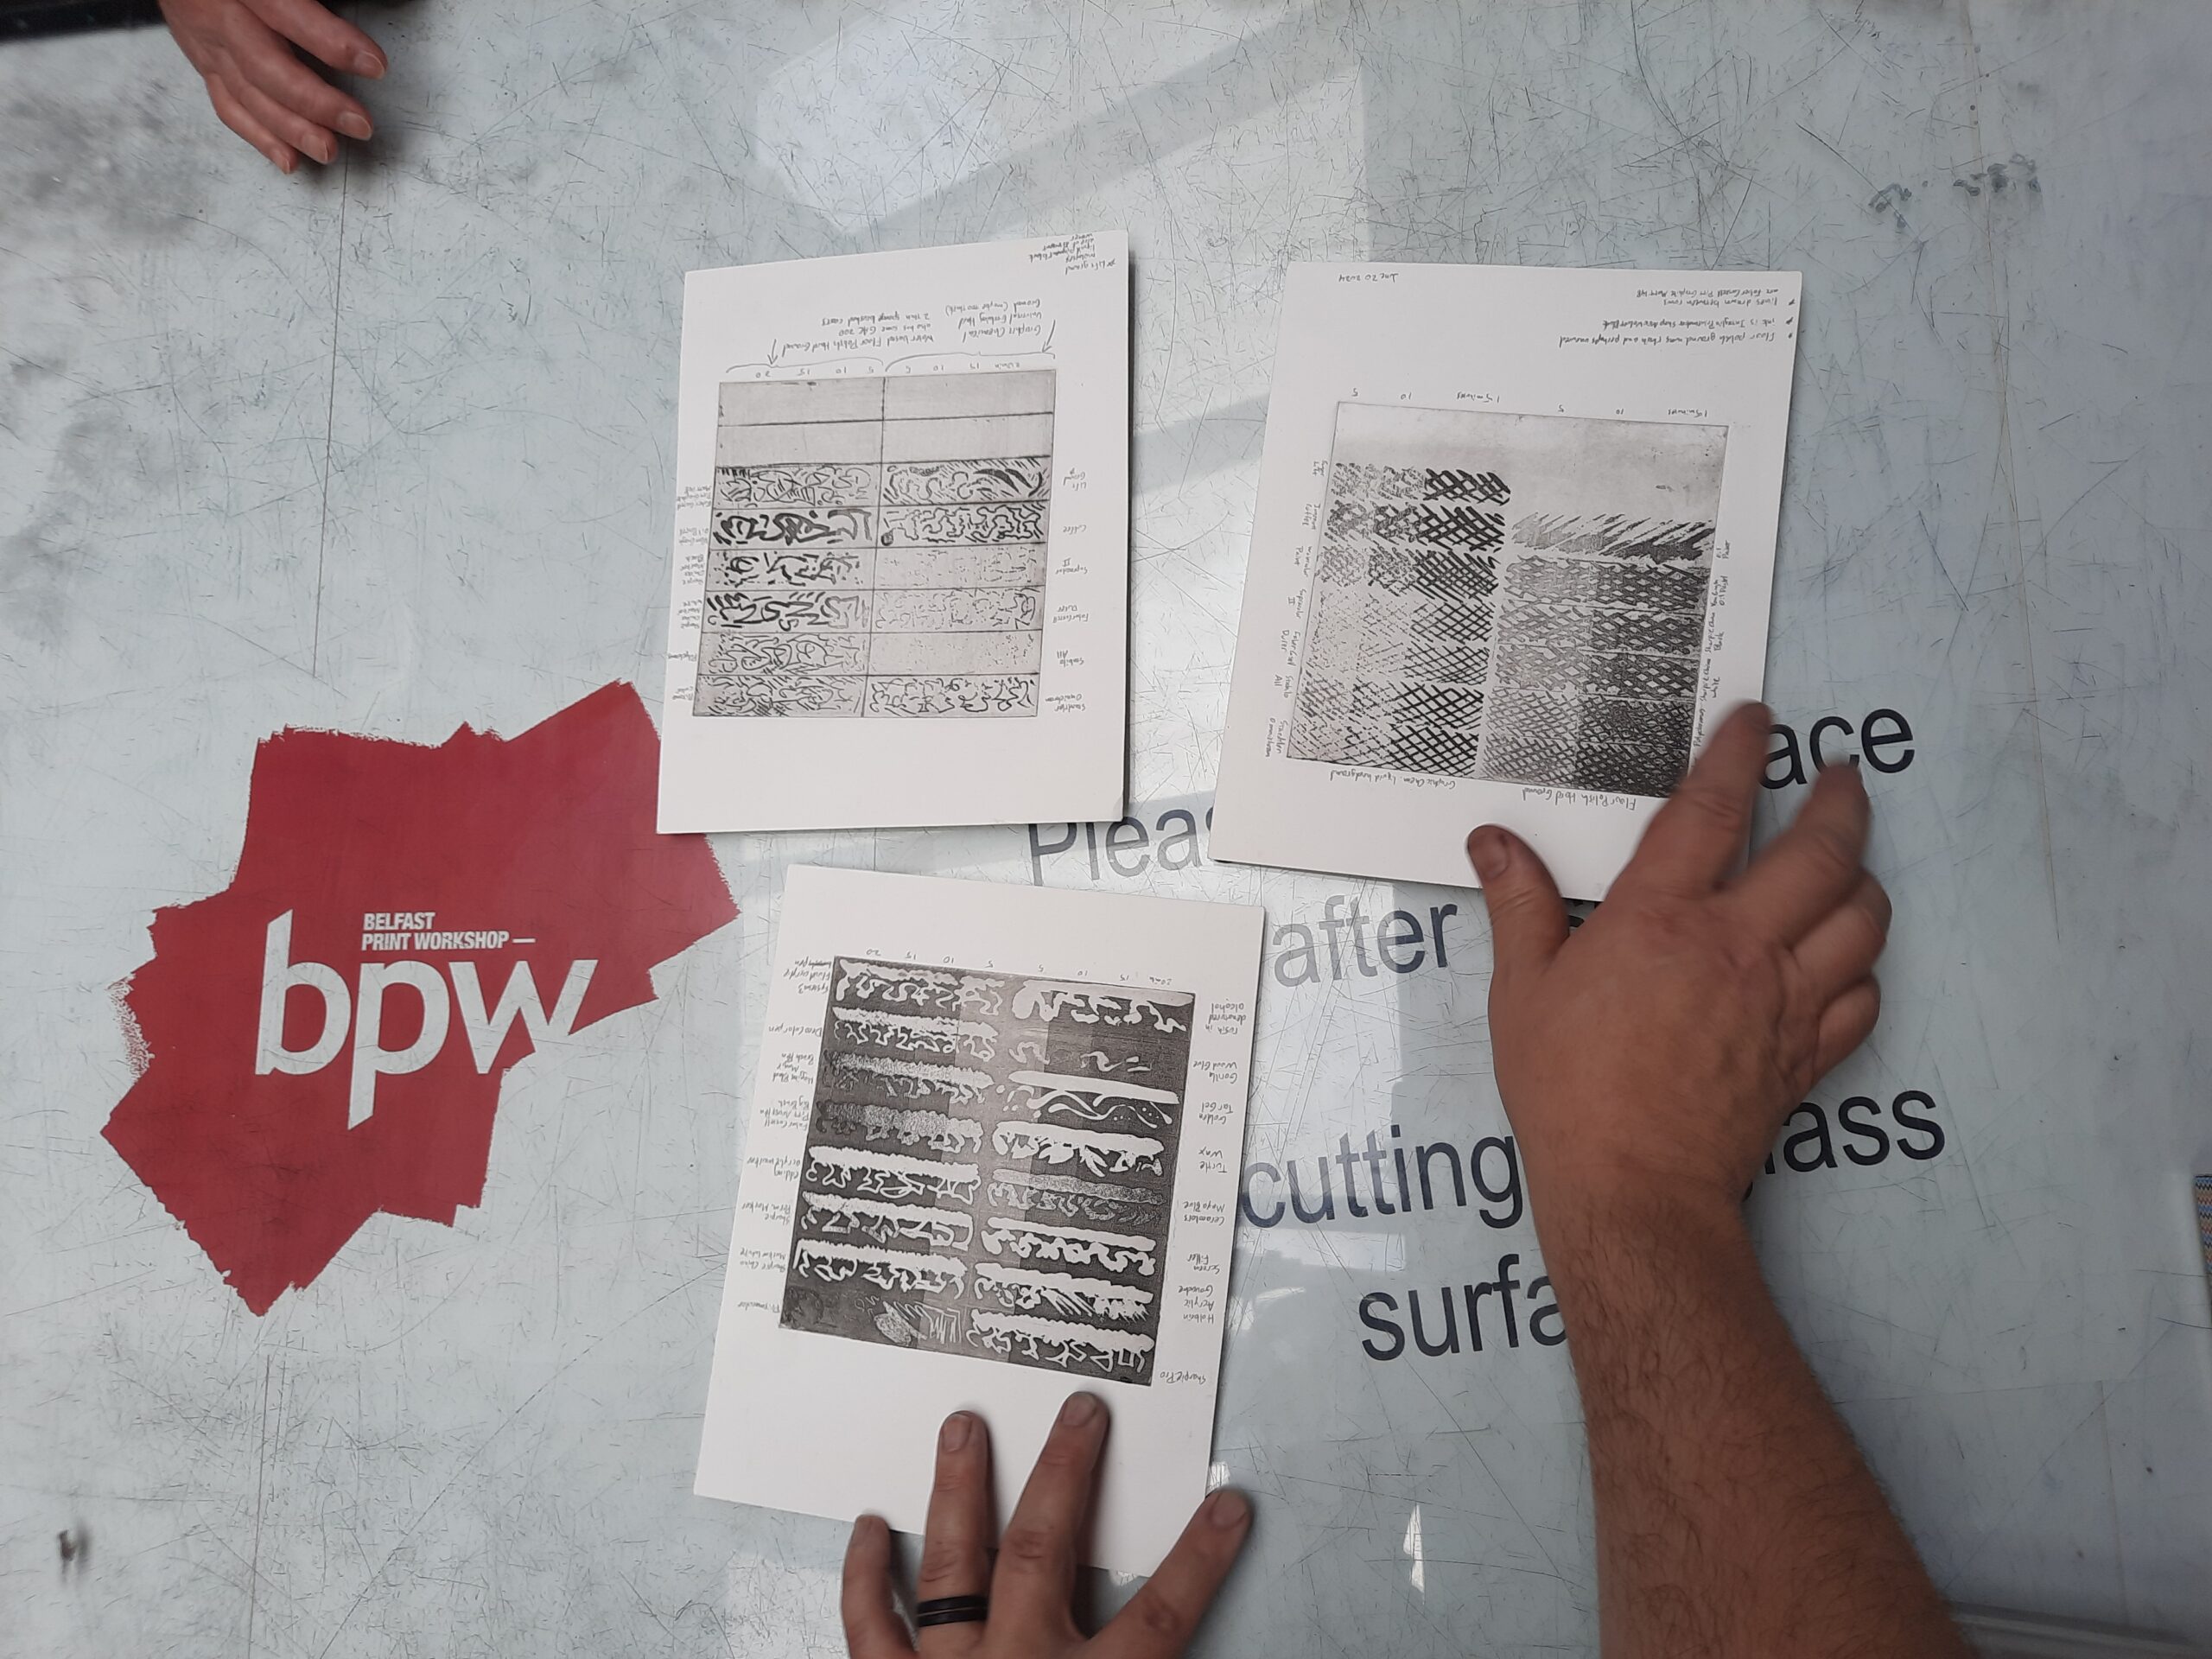
I’m very excited about this way of drawing a lift ground. I’ve led workshops and demos around the world and would love to do more!